Selling images is directly integrated in the established proofing process that your clients are already familiar with.
1. When creating a new collection check the “Sell images…” option to activate e-commerce.

2. Choose which pricing type you want to use. Currently there are two options:
- Single image pricing
- Package pricing
- Volume pricing (coming in picu Pro 2.4.0)
2 a. With “Single image pricing” each image is priced the same amount.

2 b. With “Package pricing” you can set a base price and then add a number of images that are included in the package. You can also set a price for additional images.

It is also possible to set either of those values to 0. If you want to restrict the number of images the client is allowed to order, use the Selection Option feature.
2 c. With “Volume Pricing“, you can create pricing tiers that reward clients for selecting more images. The more images they choose, the lower the price per image.
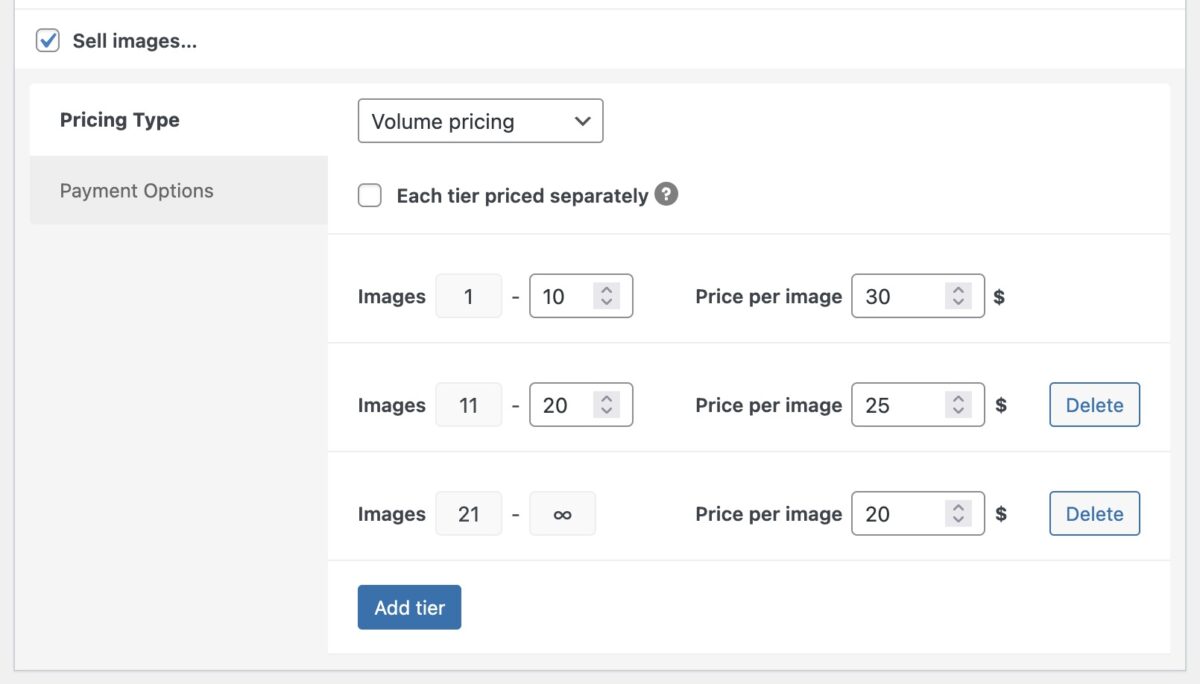
By default, all images are charged at the tier price reached by the total selection, e.g., taking into account the pricing setup in the screenshot above: If the client selects 15 images, the price is $25 per image: 15 × $25 = $375
Enable “Each tier priced separately” to apply different prices to each quantity range. For example, in the screenshot above, the first ten images are priced at $30 per image, the next ten images (11-20) are priced at $25, and so on. If the client selects 15 images, the price is calculated like this: 10 × $30 + 5 × $25 = $425
3. Finally you can choose which payment provider/gateway you want to use for this collection.
(You need to activate payment providers in the e-commerce settings first.)
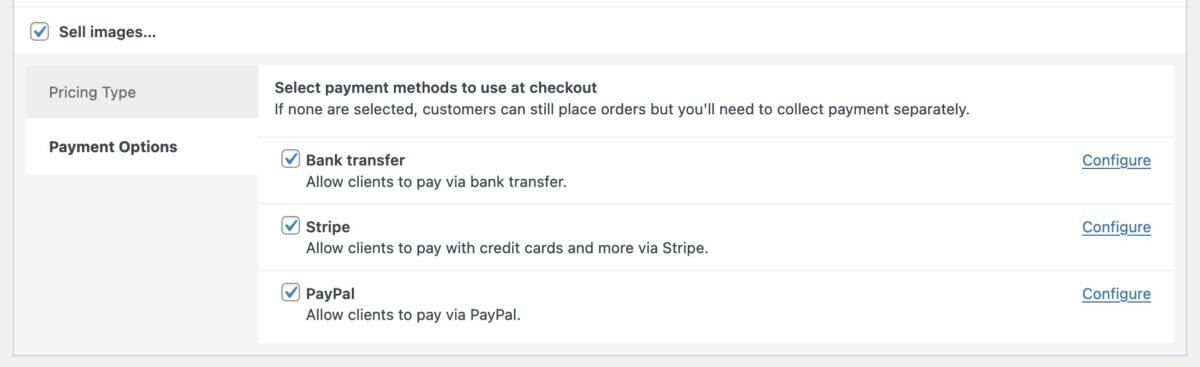
If you do not select any payment providers, the client can still approve the collection and place their order, you just have to handle payment separately.
Currently picu supports direct payment via PayPal and Stripe (both need to be configured first).
