If you’re a photographer looking to sell your photos online, then creating a photography portfolio site with WordPress couldn’t be easier, and is a great way to showcase your images.
WordPress is the most popular website builder, powering over 41% of all websites on the internet! It’s an ideal choice for developers as well as business owners, thanks to its intuitive approach to creating your own unique website without having to write a single line of code.
This means you can create a professional-looking photography portfolio site within a few minutes, even if you’re not particularly tech-savvy. However, there are some essential steps you need to consider when creating your own photography portfolio site with WordPress.
In this post, we’ll explain step-by-step how to set up a photography portfolio site with WordPress.
Step #1. Choose a Robust WordPress Hosting Provider
To start things off, you will need somewhere to host your WordPress photography portfolio website. Ideally, you want to go for the most robust WordPress hosting plan that’s within your budget. This not only ensures the reliable performance of your website, but also helps establish an impactful first impression for your clients.
These are some factors you should consider when choosing a WordPress hosting provider for your photography portfolio website:
- Scalability. You should think about whether your WordPress hosting plan can handle demanding websites with image-intensive content or not. This is because your photography portfolio site will contain a large number of high-quality images, which will require your hosting provider to handle resources efficiently. This ensures a seamless end-user browsing experience for clients who want to browse through image galleries on your photography site.
- Security. One of the most important factors of any successful website is security, and how your website deals with both spammers and hackers. This is why your hosting should offer essential security features (such as SSL certification).
- Support. If anything goes wrong with your portfolio, you want to have great hosting support so they can help you get your site back online again quickly. This is also useful if you end up breaking your site when making customizations or adding new functionality (although WordPress is itself a robust platform that, with a few sensible precautions we’ll mention later, is stable and reliable).
- Popularity. Another important factor to consider when deciding on WordPress hosting is the popularity of the service. It’s always better to go for a hosting provider that has a solid track record of delivering a reliable service. This means you can focus on running your business instead of worrying about the technical side of things.
Step #2. Install WordPress
Depending on the hosting provider you decide to go with, installing WordPress might be a little different for you. However, this doesn’t change the basic steps needed to install WordPress after getting a hosting account.
You can use the control panel for your hosting to install WordPress, which will only take a couple of minutes to complete the whole setup. Most web hosting companies provide 1-click installs for WordPress straight from your hosting panel.
Once WordPress is installed, make sure you set a strong password for your administrator user.
Step #3. Install Essential Plugins and Themes
Now with WordPress set up, we can start to think about choosing a theme, and adding a few key plugins.
This is where the real power of WordPress comes into play. There are nearly 12,000 themes available, and almost 60,000 plugins, so you easily have enough ways of creating a website that’s perfect for you, from the way it looks, to the functions and tools it provides.
However, it is important to keep in mind that WordPress has been around since 2003, and so over the years plugins and themes have come and gone, and some are better maintained than others. What you don’t want to do is to choose a theme or plugin that is rarely maintained, and hasn’t been updated in weeks, or even months. This is because out of date themes or plugins can potentially represent a security risk, and they may even conflict with current plugins that have been updated.
So when browsing themes and plugins on WordPress keep a careful eye on the panel on the right-hand side of the page, and you’ll be able to see a few key metrics, including when the theme or plugin was last updated, its community star rating, and how many downloads it has had.
Ignore themes and plugins that haven’t been updated in many weeks or months, or which haven’t been downloaded enough times for them to have been properly tested by the WordPress community at large. Ideally, look for plugins and themes that have tens or even hundreds of thousands of installs, and which has been updated very recently.
We’ll demonstrate how to install themes and plugins using a full site editing theme – Twenty Twenty-Two – to create a sample photography portfolio website.
Here’s what you need to do to install plugins and themes:
To add a new plugin to your WordPress site, navigate to Plugins → Add New to either upload or directly search and install from the WordPress plugin repository.
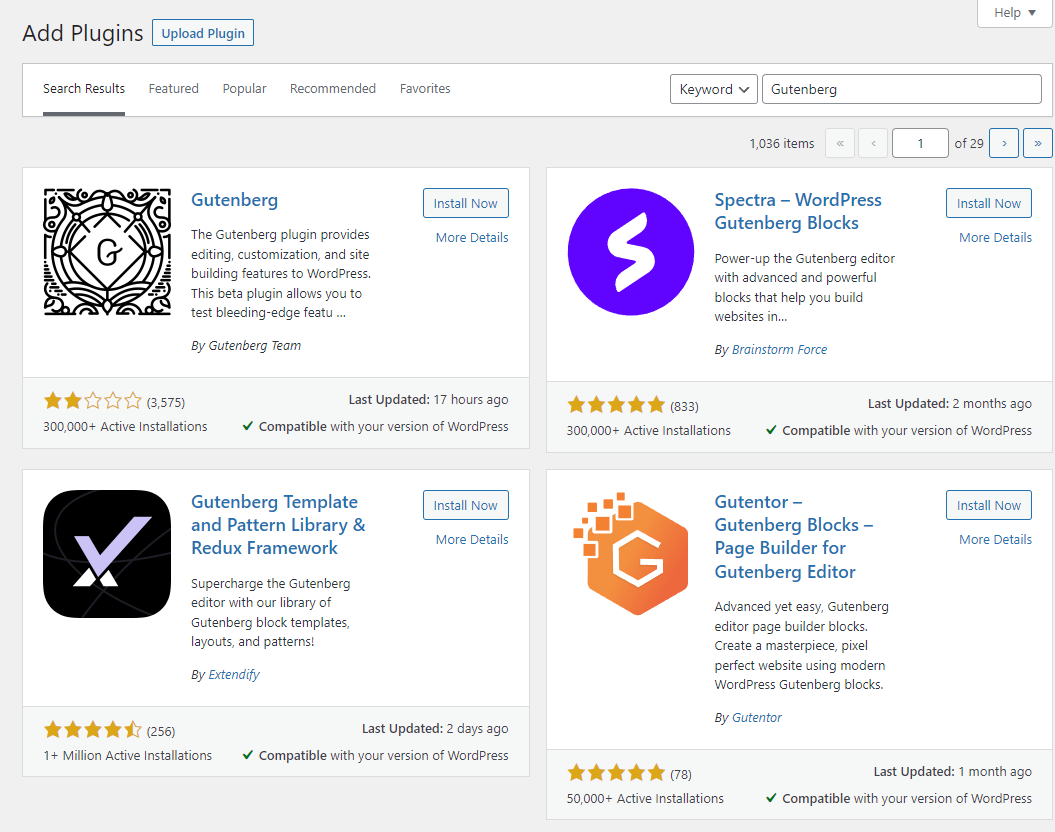
Click on the Install Now button and then activate the plugin to start using it on your newly created WordPress site.
Similarly, you also need to select a theme for your portfolio. To do this, navigate to Appearance → Themes and click on the Add New button.
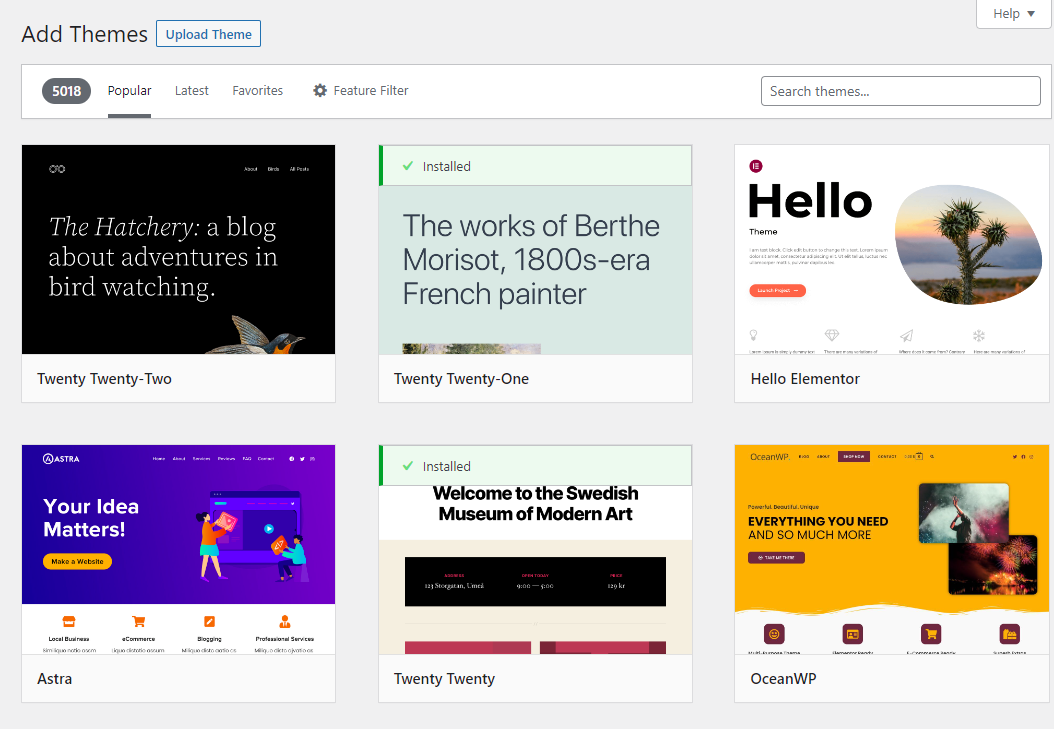
You can either upload a theme yourself or choose to use the search function to find the ideal theme for your brand. After installing a theme, you need to activate it by clicking on Activate.
Step #4. Create Your Portfolio Page
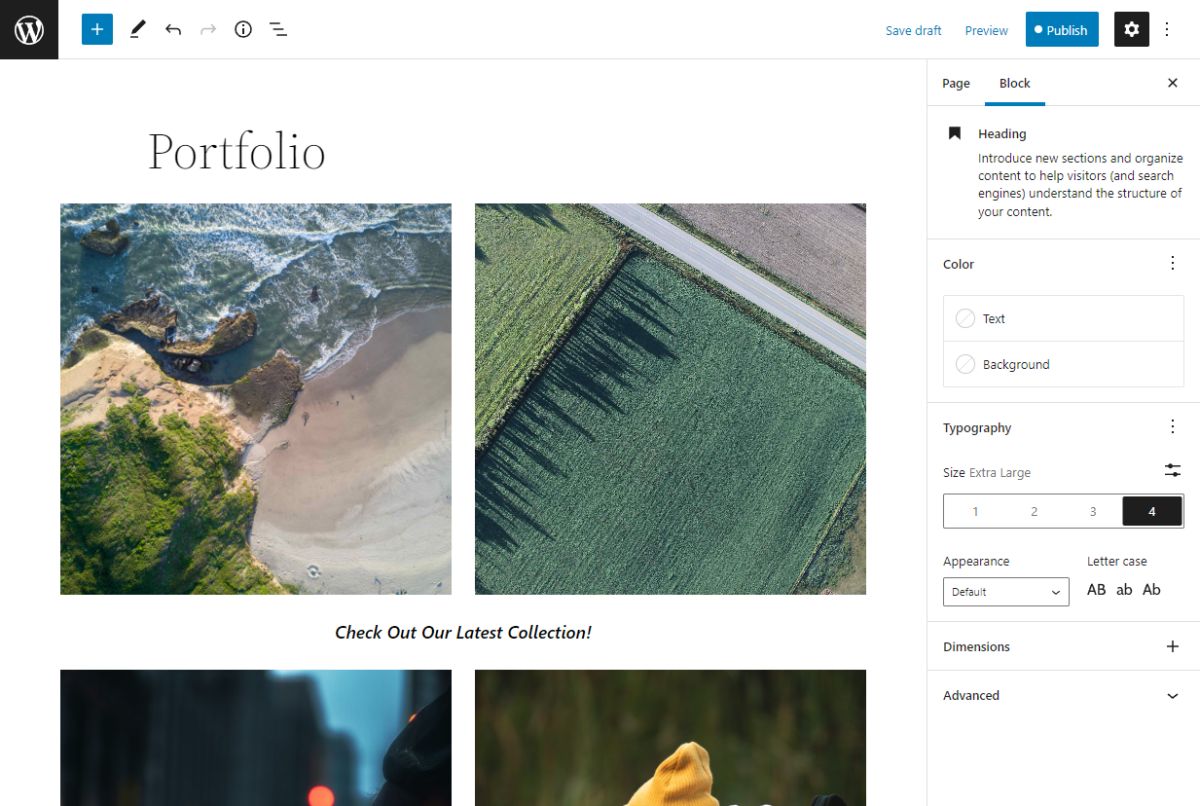
Now with basic plugins and a theme in place, you can start designing your landing page. Depending on the theme you’re using on WordPress, click on the Edit site or the Customize button from your landing page.
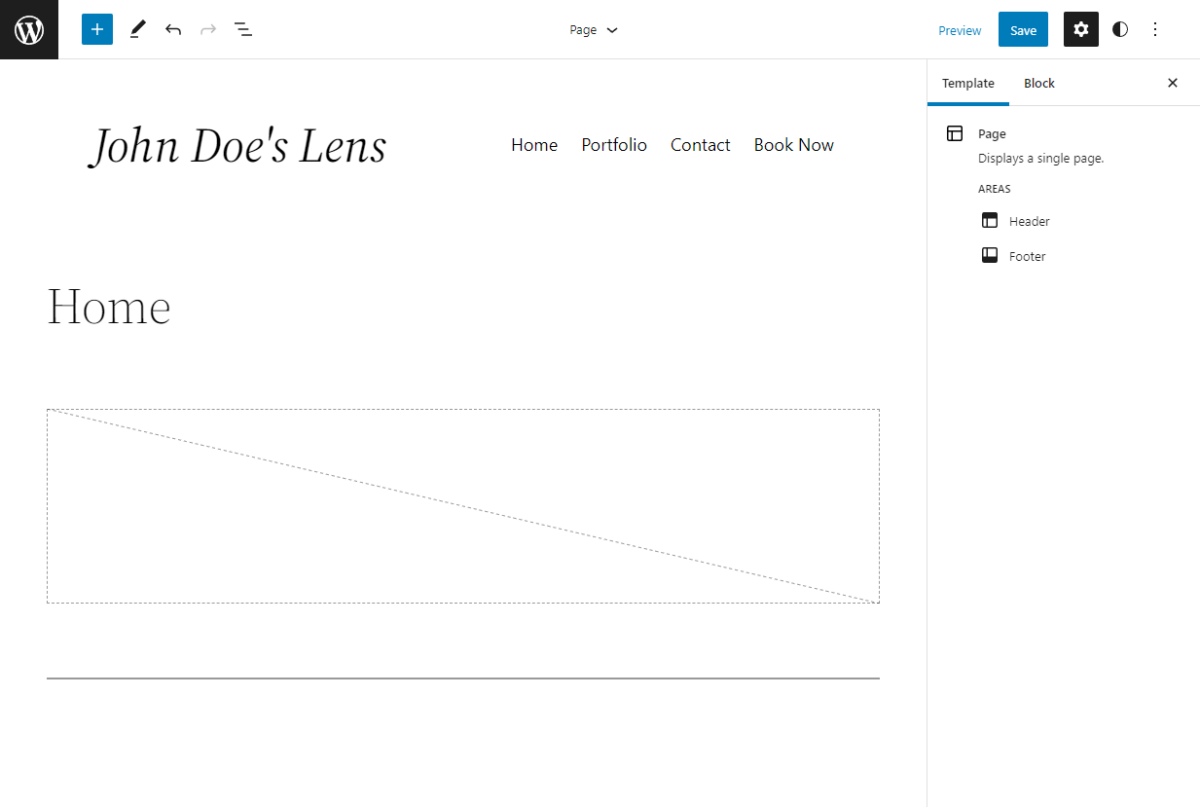
You can click on each page element and make changes using the More settings sidebar. This will help you build a unique-looking photography portfolio website based on your requirements.
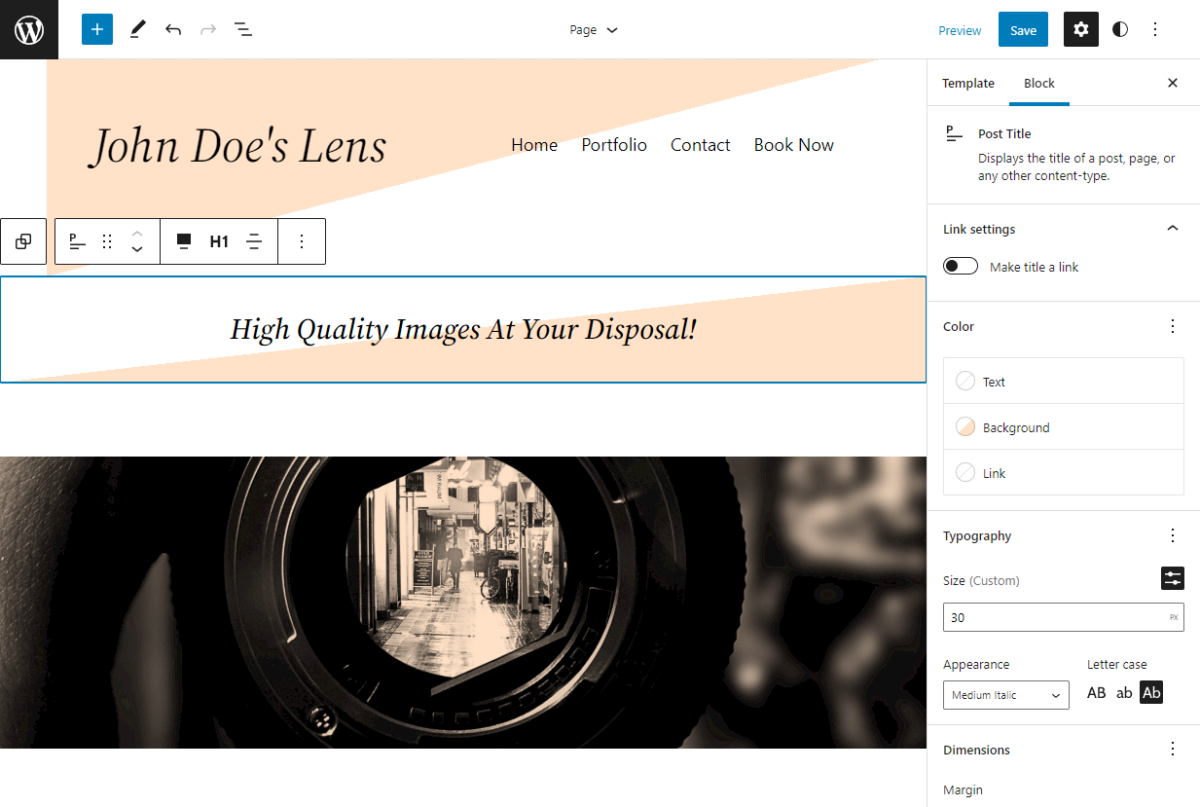
You want to create an attractive header to immediately captivate the attention of site visitors while also making it easy for them to navigate through your site. You can then showcase some of your best images and give more information about your brand.
Next, navigate to Pages → Add New to create a new portfolio page.
You can showcase some of your best work here as a way to encourage clients to contact you or use it to sell premium, high-quality online image galleries.
Step #5. Set Up Online Photo Proofing
While displaying your images in pre-designed templates is great for showcasing some of your best work, it’s not a complete solution for online photo proofing. This is why you need a dedicated online photo-proofing plugin such as picu.
picu offers an all-in-one solution for showcasing photographs better and enhancing communication between you and your clients. This means you don’t have to worry about sending emails back and forth to your clients. Instead, you can use picu’s online collections for online photo proofing images.
This way, clients can simply select the images they like, adding any notes if they wish, and then having their selection instantly sent to you. This not only simplifies the communication but also reduces any chances of errors occurring as the client doesn’t have to manually enter any image file names.
The best part about picu is that it’s very simple to use. You can essentially create an “online gallery” and upload all your images to the collection.
To get started, you will need to download the picu plugin and install it on your WordPress site. Once the plugin is installed, navigate to picu → New Collection to get started.
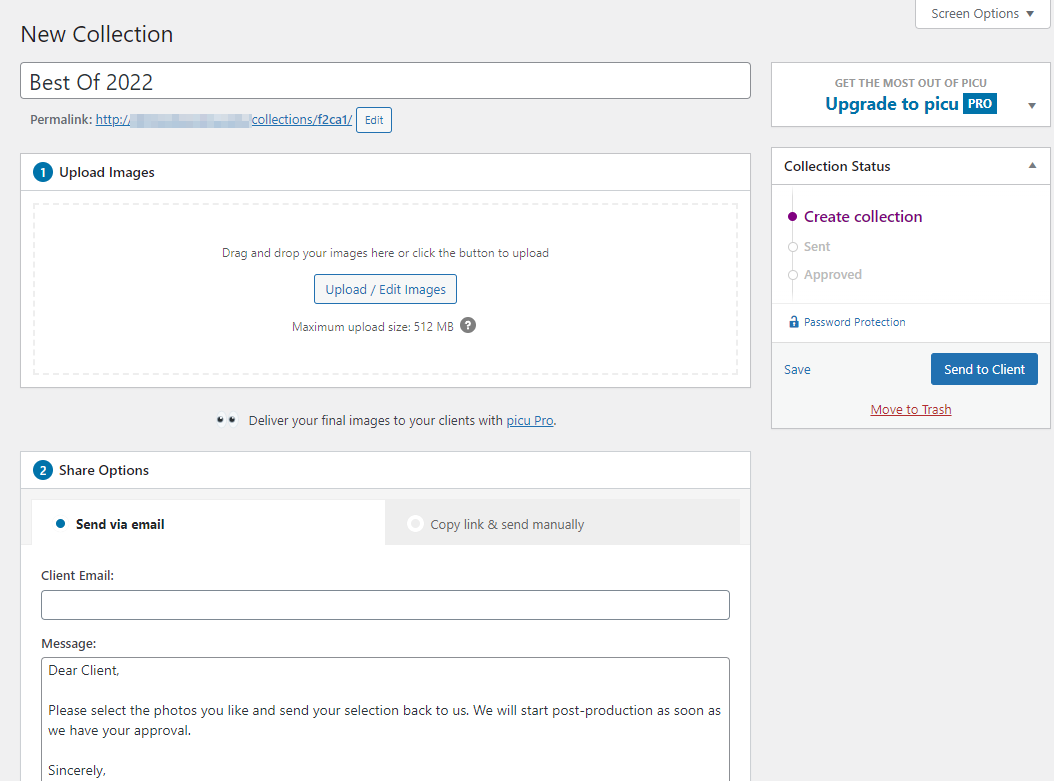
Give your collection or gallery a new name and start uploading images using the Upload Images meta box.
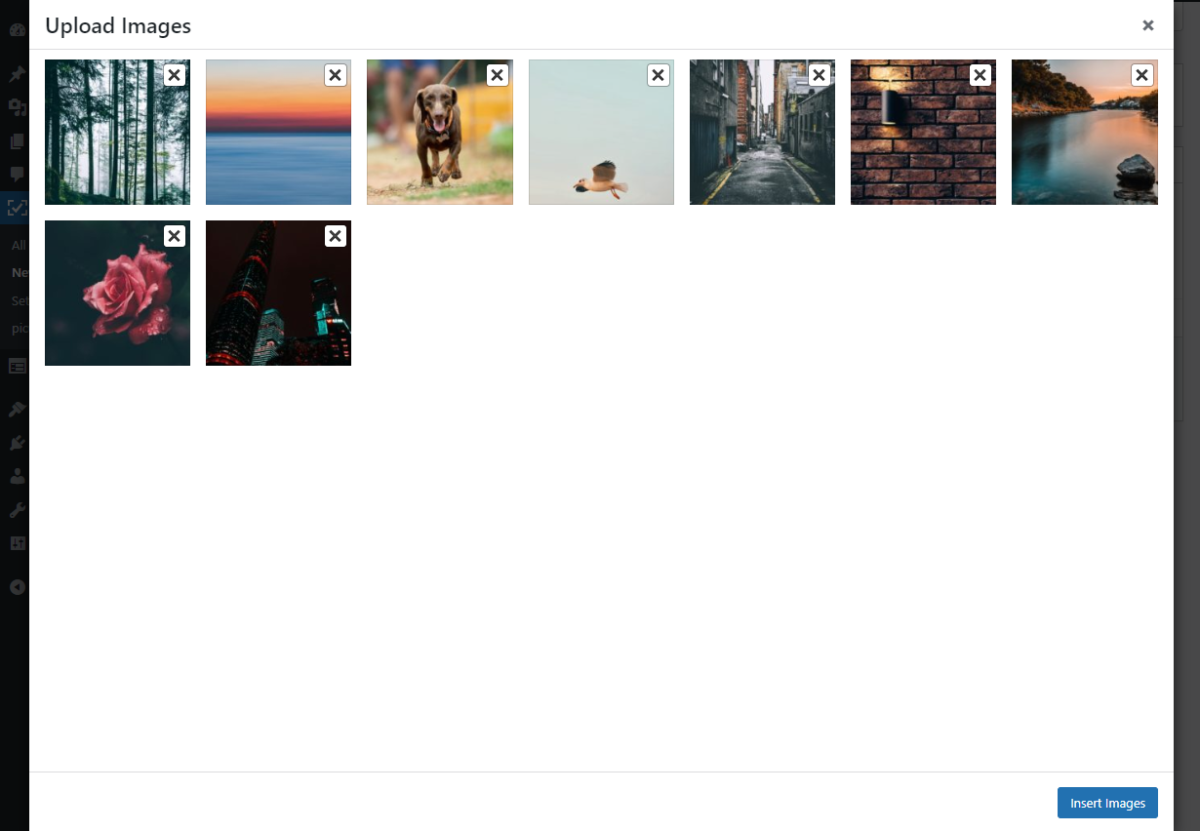
Click on the Insert Image button after uploading and selecting all images.
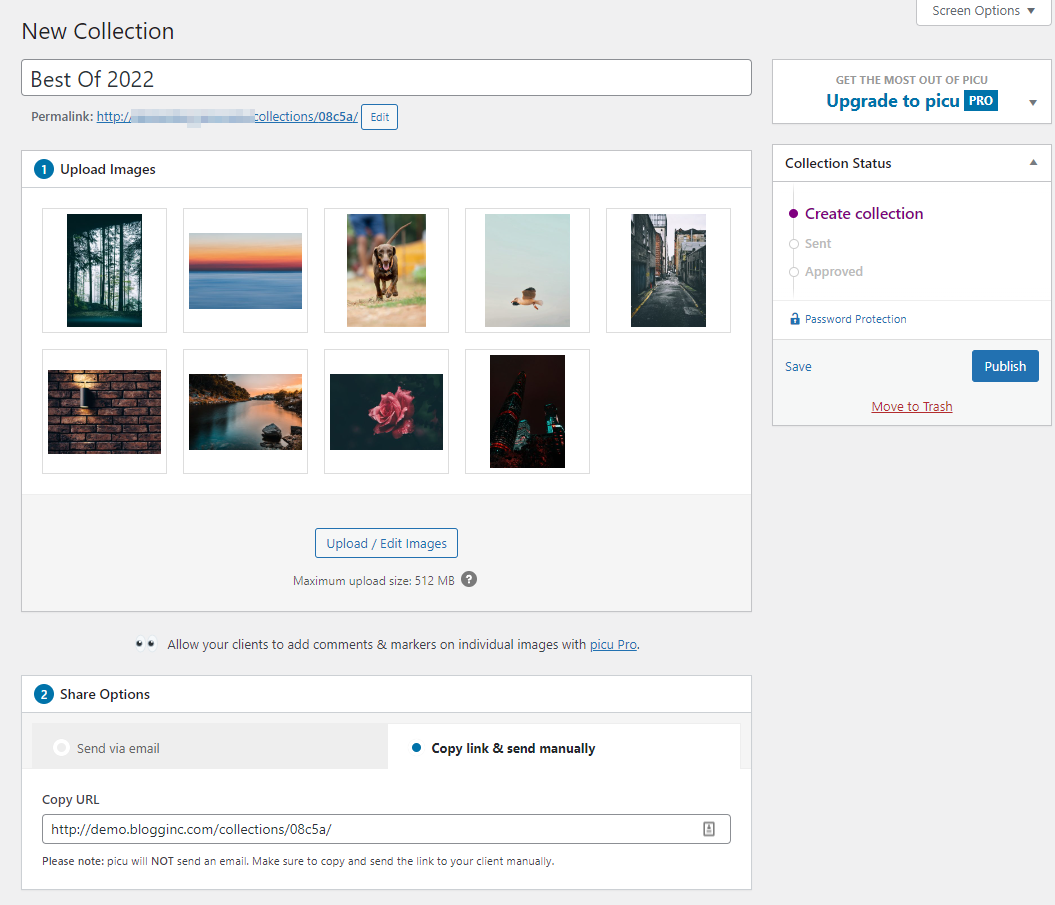
Now, using the Share Options meta box, you can either send your client the collection via email or copy the link to the online collection to give to them later. Once you’re done, make sure to click on the Publish button.
Once the client has made their selection, picu will automatically send you an email with a link to the admin view of the collection, where you can see which images the client has chosen, along with any notes. If you wish, picu can export a list of the filenames for those images selected by the client, so that you can paste these directly into Photoshop and begin editing.
Step #6. Include “Contact Us” & “About Us” Sections
Your site visitors need a way to directly get in touch with you or learn more about your services. For this, you’ll need to create and include a “Contact Us” and an “About Us” section, or create two new pages.
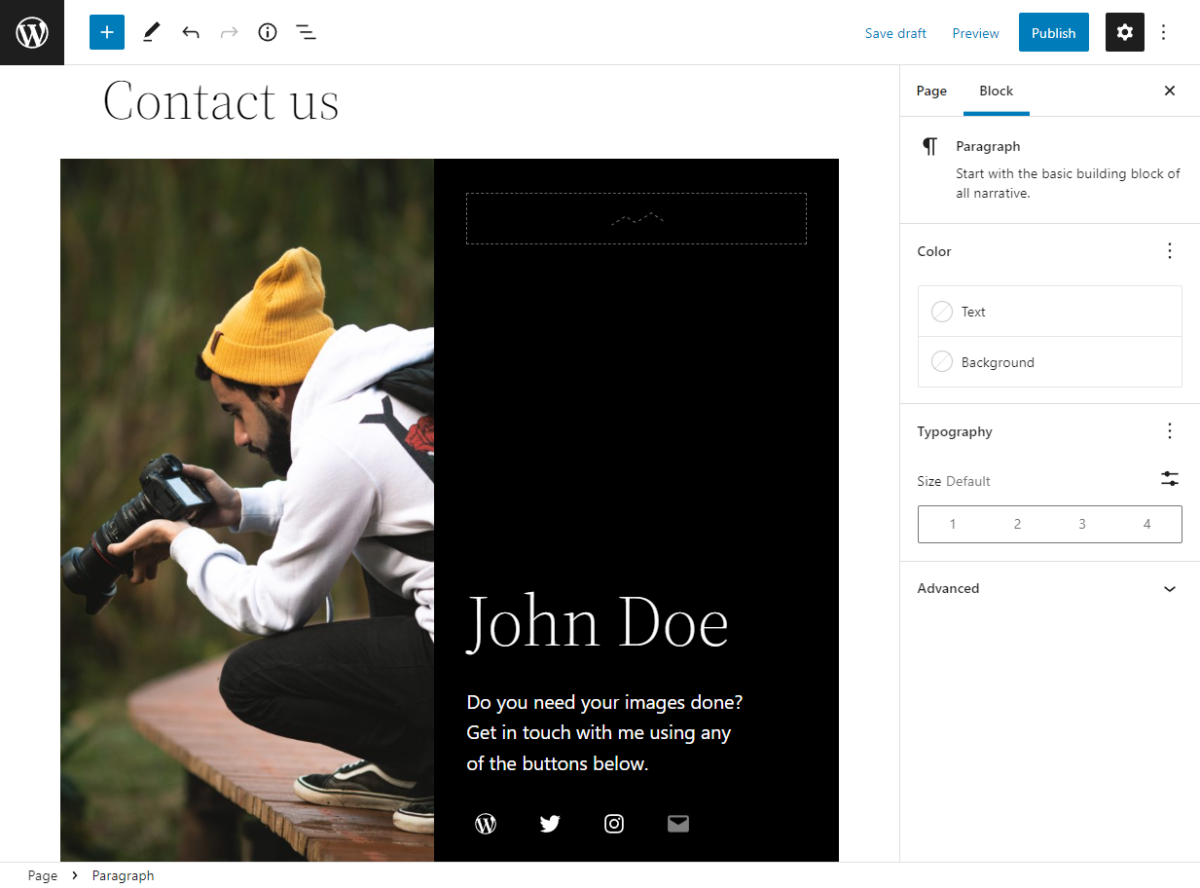
When creating the “Contact Us” page, it’s important to include all necessary information needed for users to get in touch with your brand as soon as possible. You can also include business timings so clients also know when they’ll hear back from you.
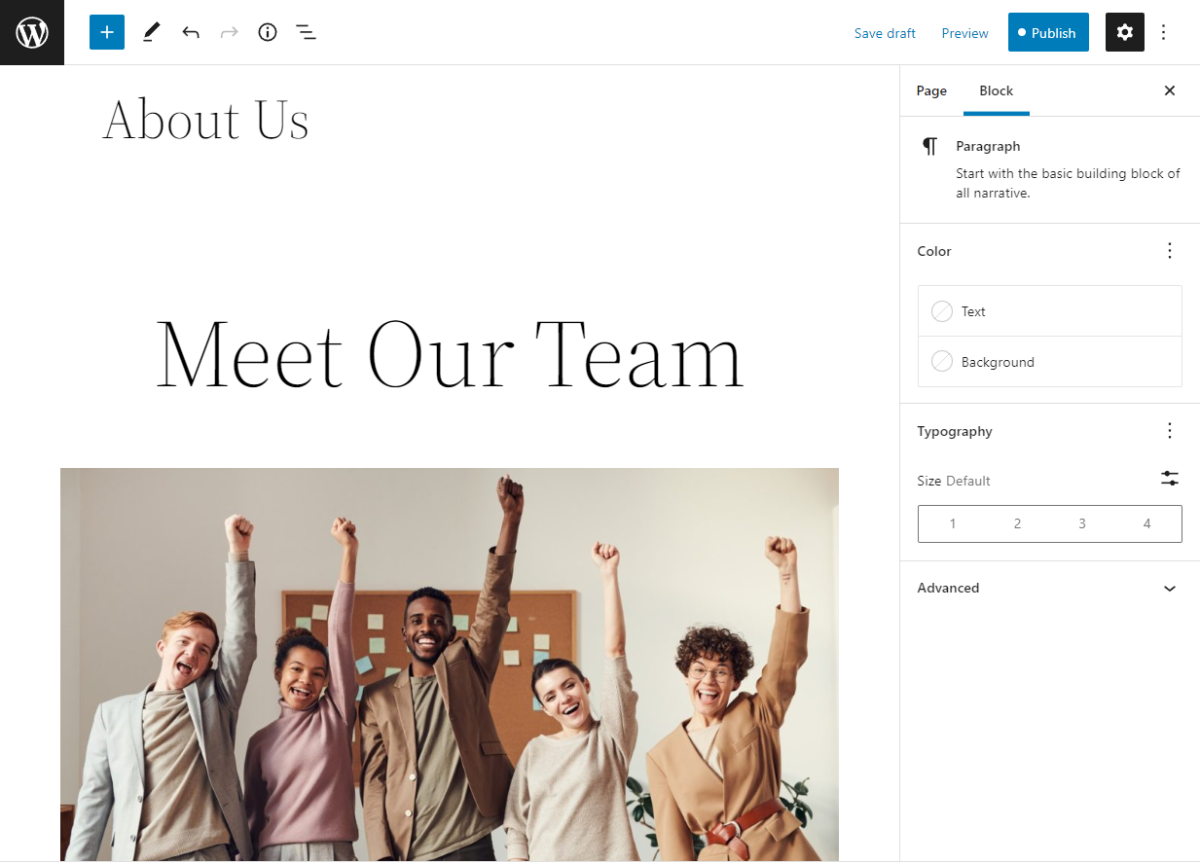
Similarly, you can create a new “About Us” page to include all relevant information regarding your brand, your team members, and what you do. This is a great way to communicate your business values and who people are talking to behind the screen.
In addition to this, it’s also a great idea to include a small “About Us” and “Contact Us” section on your portfolio page. This gives your clients an easy way to view your work and get in touch with you just by scrolling the page.
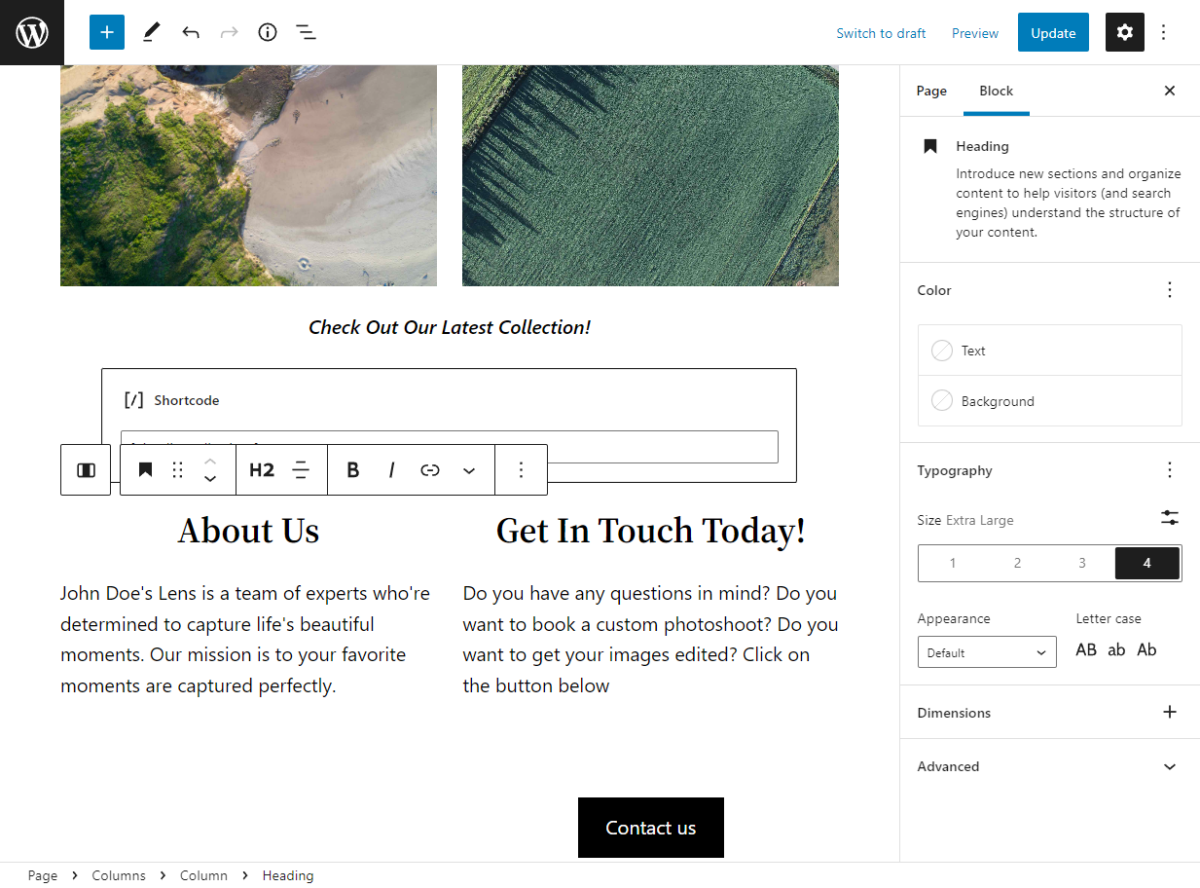
Make sure to click on the Update button to continue.
Step #7. Preview on the Front-End
Now, you can grab the attention of users with a beautifully designed landing page on your photography portfolio website.
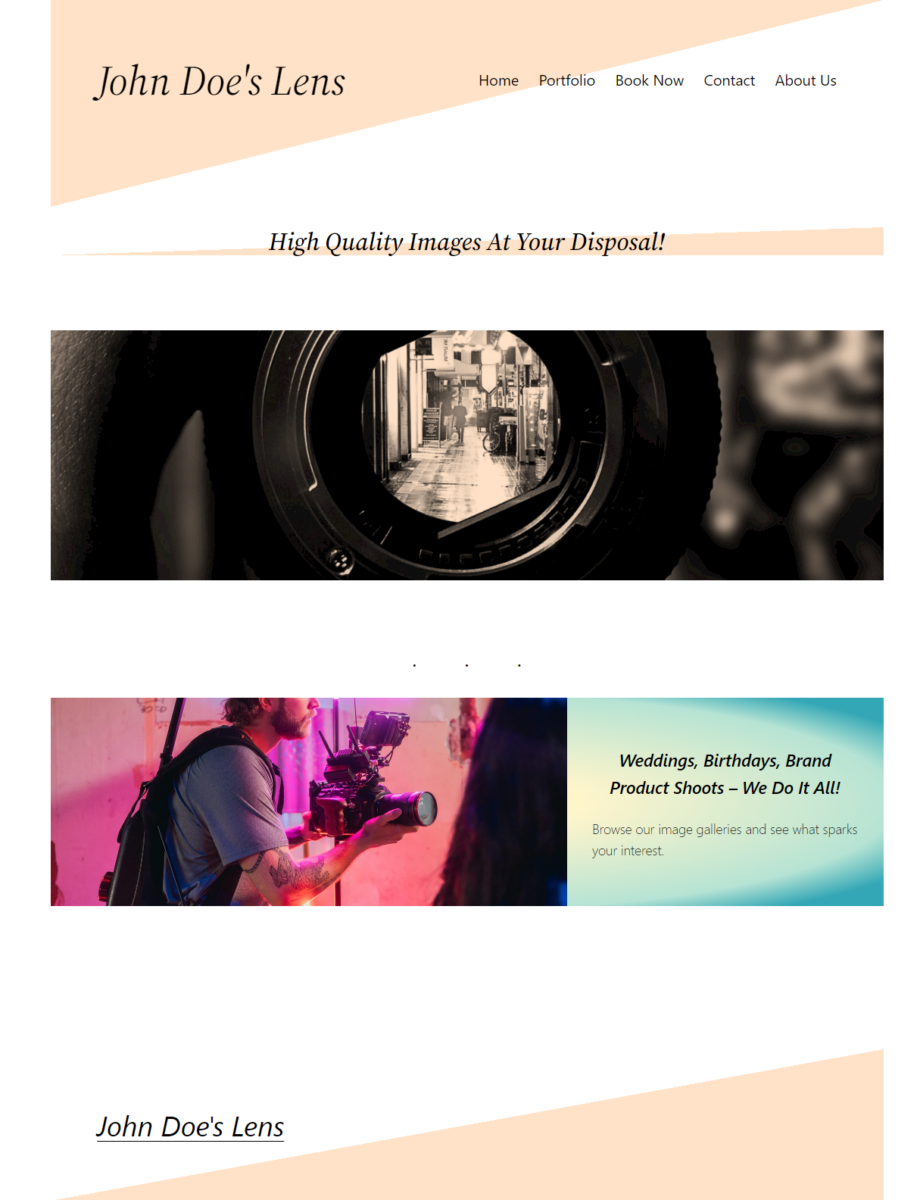
Users can view what your website is all about as soon as they visit this page. Clients who want to view your portfolio will be able to view some of your best work as well as an online gallery full of high-quality images.
Conclusion
Creating and setting up a full-fledged photography portfolio site can help you take your photography business to the next level. It’s a great way to improve your brand’s outreach by connecting to users from all over the globe.
However, since WordPress, by default, doesn’t let you create image galleries that are responsive across all devices, it’s best to use an online photo proofing plugin such as picu. It’s the perfect solution for showcasing your images better and helps create a smooth online photo-proofing experience for your clients.
Ready to easily set up a photography portfolio website with online photo proofing? Get picu today!