There are many ways to create a client area on your WordPress website. The following is a very basic example and it uses no additional plugins – except for picu, of course.
The only prerequisite: You should not be afraid to add some custom code to your (child) theme.
Ready?
Let’s go!
Step 1: Create a custom page template that uses the picu_list_collections shortcode
Create a new template file. Let’s call it page-client-area.php.
<?php
/* Template Name: Client Area */
get_header();
?>
<div id="primary" class="content-area">
<main id="main" class="site-main">
<article>
<header class="entry-header">
<h1><?php _e( 'Client Area', 'my-theme' ); ?></h1>
</header>
<div class="entry-content">
<?php
$current_user = wp_get_current_user();
if ( isset( $current_user->user_email ) ) {
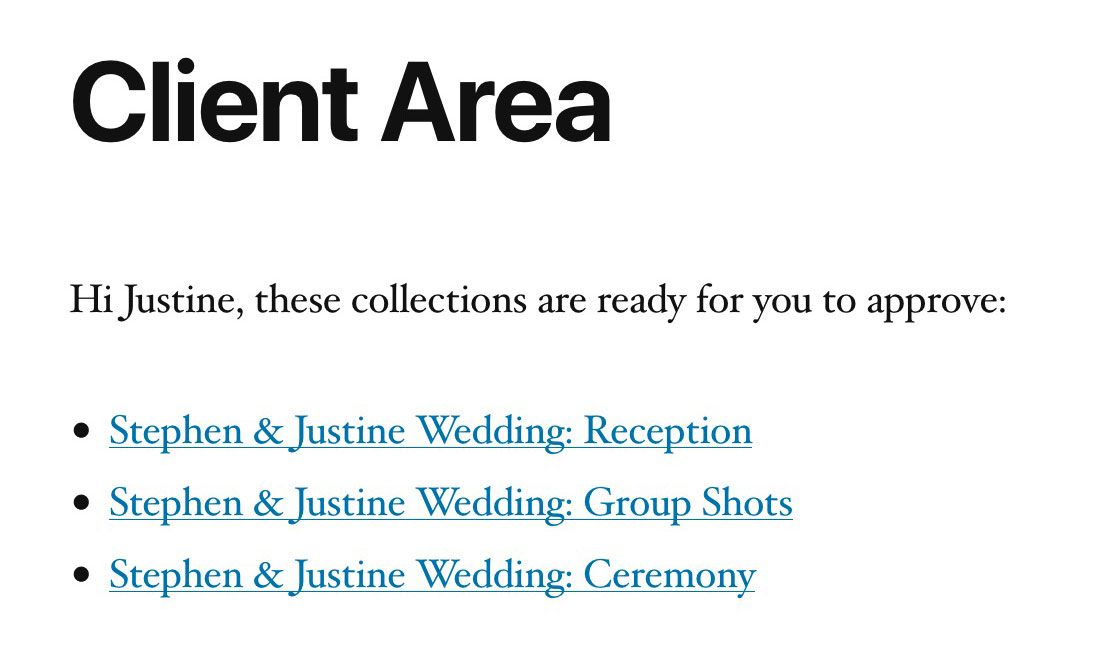
echo '<p>' . sprintf( __( 'Hi %s, these collections are ready for you to approve', 'my-theme' ), $current_user->display_name ) . ':</p>';
echo do_shortcode( '[picu_list_collections email="' . $current_user->user_email . '"]You currently have no collections to approve.[/picu_list_collections]' );
}
else {
echo '<p>' . sprintf( __( 'Please <a href="%s">log in</a> to see this page', 'my-theme' ), wp_login_url( get_permalink() ) ) . '.</p>';
}
?>
</div>
</article>
</main>
</div>
<?php
get_sidebar();
get_footer();
You need to take a look at your own theme and adjust (add or remove) parts that are needed/not needed.
Make sure to copy the file into your (child) theme folder.
Explanation:
We are using the wp_get_current_user() function to get the name and the email address of the user, that is currently logged in. We use the name to display a welcome message, and we use the email address as a parameter in the shortcode. The latter will filter the collections to display only the ones associated with the current user.
Step 2: Create a page called “Client Area”
Go into your WordPress Admin and create a new page. In our example, we will give it a title of “Client Area”.
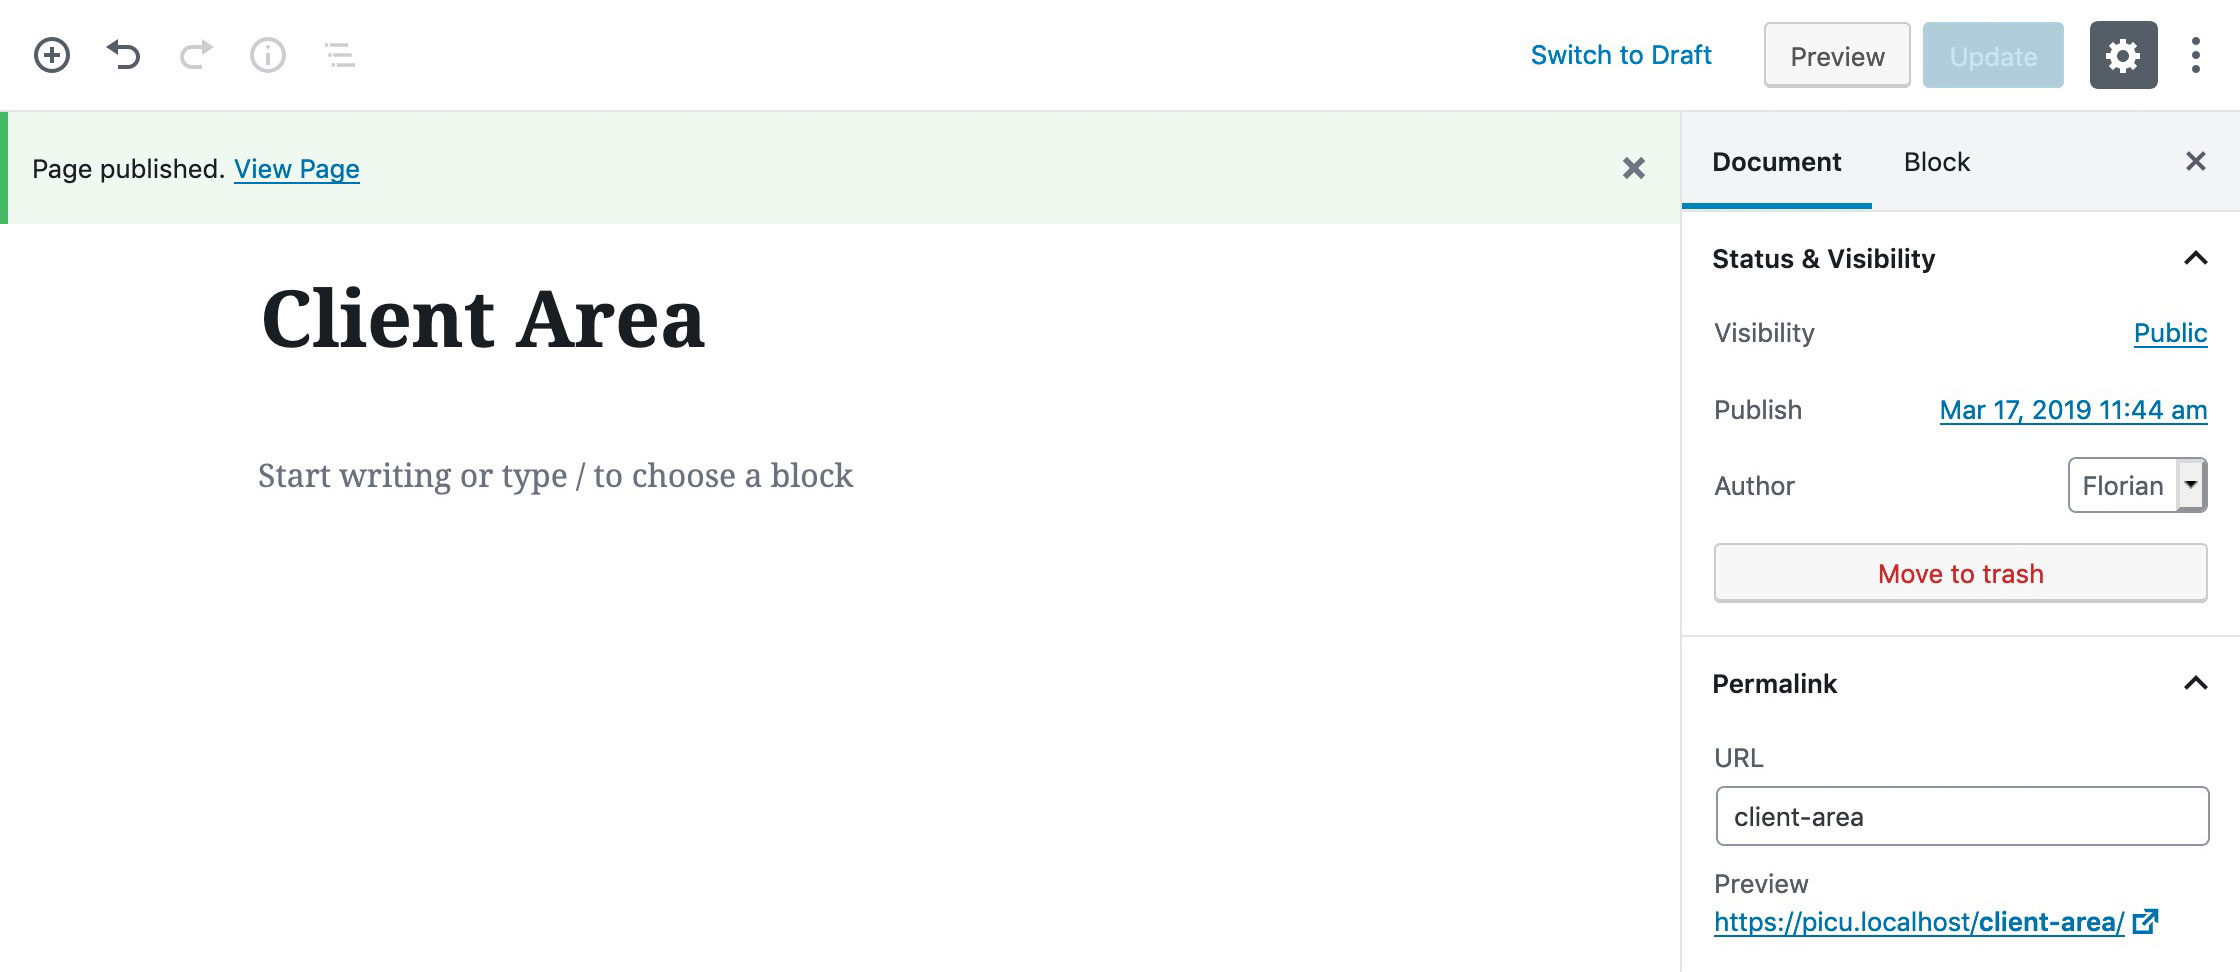
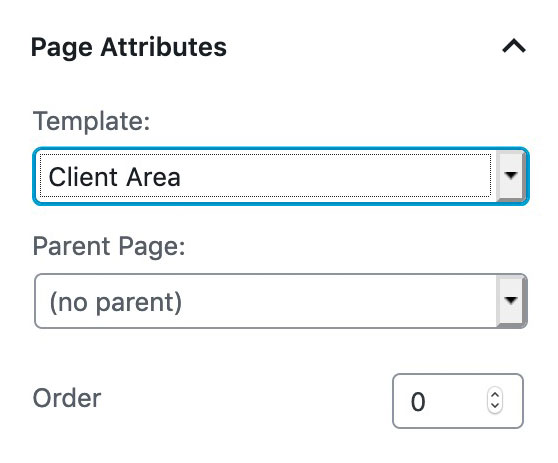
Setting the URL to “client-area” will automatically use the page template we created in step 1. If you call the page something else, you can also choose the page template under Page Attributes:
Step 3: Client setup
Create a new user for your client. Set the role to “Subscriber”:
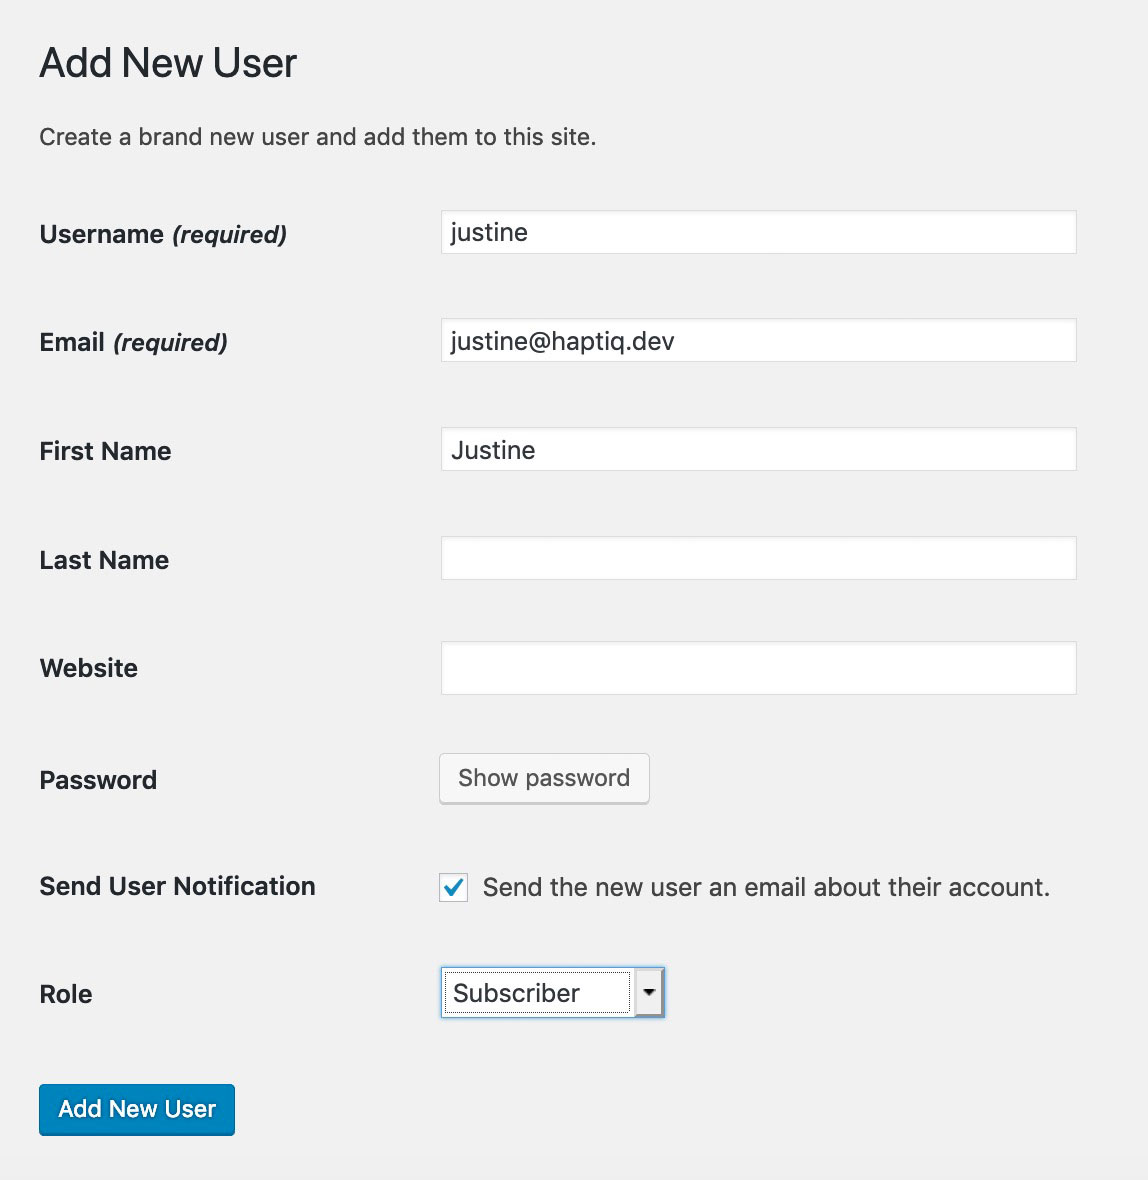
In our example we will use the subscriber role for our clients. This role is available by default. Subscribers are only able to view content and not to create, edit or delete anything, so this works perfectly for our use case.
(You could also create an entirely new user role using a plugin like Members. If you do so, make sure to adjust the code below and use the correct role name instead of subscriber.)
Step 4: Redirect clients to the client area after login
Add the following code block to your (child) theme’s functions.php file:
function my_login_redirect( $redirect_to, $request, $user ) {

    if ( isset( $user->roles ) && is_array( $user->roles ) ) {

        if ( in_array( 'subscriber', $user->roles ) ) {
            $redirect_to =  get_permalink( get_page_by_path( 'client-area' ) ) ;
        }
    }

    return $redirect_to;
}

add_filter( 'login_redirect', 'my_login_redirect', 10, 3 );
Explanation:
This will check if the user, that is currently logging in, has the role of “Subscriber”. If so, he/she will be redirected to the “Client Area” Page we created in Step 2.
Step 5: Create a collection and send it to the client.
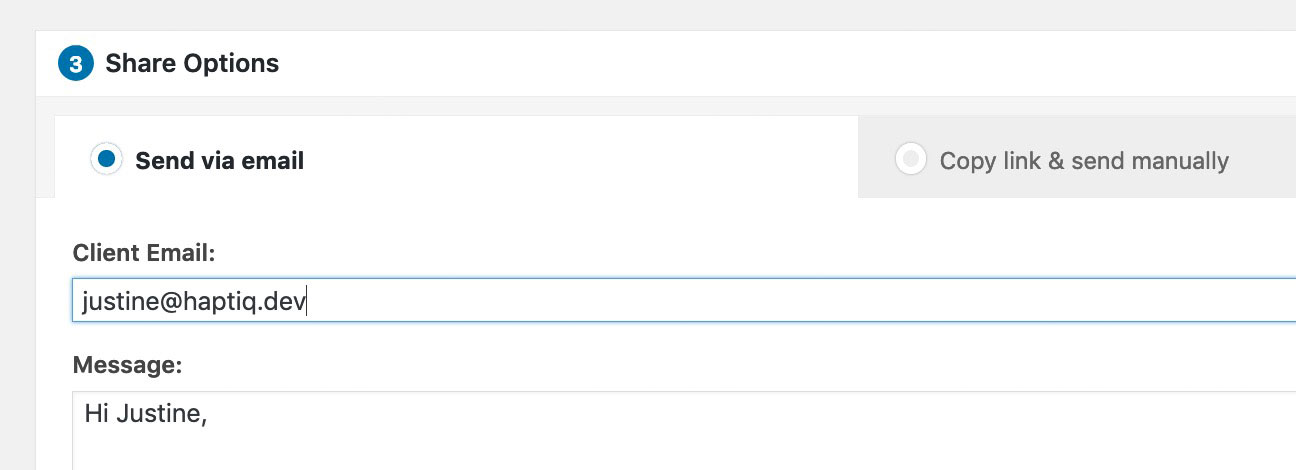
The collection is now connected to the client via his/her email address.
When the client visits the client area page, he/she will see the list of collections, that are ready to be approved.
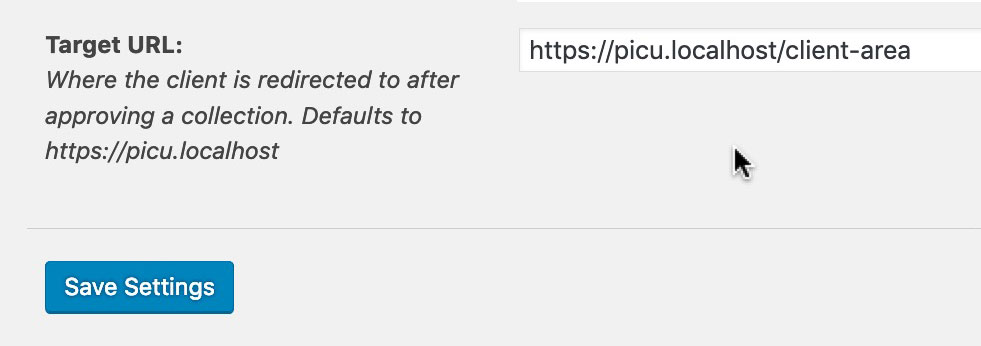
Bonus Step 6: Redirect users to the client area after approving a collection
Using our Brand & Customize Pro module, you can also redirect your client to the client area after they approved a collection:
Pretty convenient, don’t you think?
That’s it! We hope this post was helpful.
If you have any questions, feel free to contact us.