Photography websites are a fantastic way to showcase your portfolio, get new projects, and share your brilliant photos with the world.
Fortunately, creating a photography website with WordPress is easier than ever.
You don’t have to either hire a developer, or learn to code.
Instead, you can create your own website in a few minutes with no technical knowledge.
In this post, we’ll share the step-by-step process of creating a stunning photography website that will not only look good, but also perform brilliantly.
#1: Choose a Domain and Hosting
The first step to getting your website online is choosing hosting and a domain name. This step is vital for making sure your website’s performance is on-point and reliable.
The Hosting Provider
We’re starting with the hosting provider, since some of them offer a FREE domain.
When choosing a hosting provider for your photography website, you should pay close attention to these factors:
- Performance. A great hosting service ensures fast loading times for your images, which is crucial for retaining visitors.
- Uptime and reliability. Ideally, you want to aim for 99.9% uptime (or even more).
- Security. Make sure your hosting provider offers SSL certificates, firewalls, and regular backups to keep your site safe.
There are several reputable hosting providers that match the characteristics above, such as:
- SiteGround – A traditional, easy, affordable, shared WordPress hosting provider.
- WPMU DEV – An all-in-one WordPress hosting platform that bundles in tools for image optimization & more.
- RunCloud – A server management dashboard for those of you who want a little more control over your WordPress hosting setup (and are comfortable with the technical setup involved).
- Servebolt – A fast, fully managed WordPress hosting provider (comes at a higher price than other options but their performance year-on-year is unbeatable, as proven by benchmarks).
- Kinsta – A premium, cloud-based WordPress hosting solution with a focus on speed, security, and developer-friendly features, using Google Cloud’s infrastructure.
We strongly advise looking around, and doing your own research as different hosting providers will offer widely different packages. The one you choose depends solely on your budget and needs.
The Domain Name
If your hosting provider offers a free domain name, you don’t have to worry about searching for another service that provides it.
If it doesn’t we recommend choosing one of these platforms:
The next task is just choosing the actual domain name of your photography website!
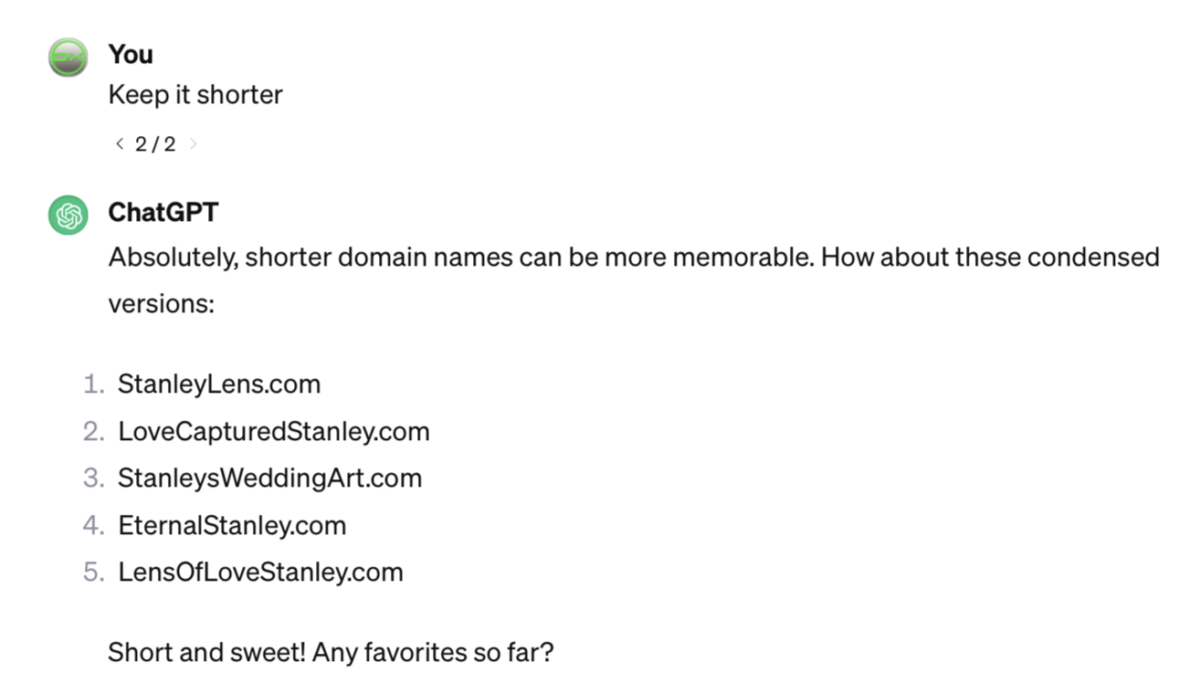
For creative types (such as yourself!), this is unlikely to be a problem. But for a little inspiration you could always ask ChatGPT to help spark a little inspiration.
Just let it have a description of your photography business, niche, keywords, and any additional information and see what it can come up with. Throw in a little twist of your own – and then check to see if that domain name is available.

If you don’t like the results, you can regenerate the response – or write more details.
Another alternative is to use a service such as Domainr, which allows you to enter any keyword, term, or brand name, and it will generate all sorts of recommended domain names (including various domain endings).
Along with these suggested domain names is information that lets you know if those names are taken, or available for you to claim.
It’s a handy brainstorming tool that can save you quite a bit of brain work, and time!

#2: Install WordPress
The next step is to install the WordPress content management system.
With some hosting providers, WordPress either comes pre-installed or you can just click the ‘Install WordPress’ button in the Admin area of your hosting provider’s dashboard, and you’re done.
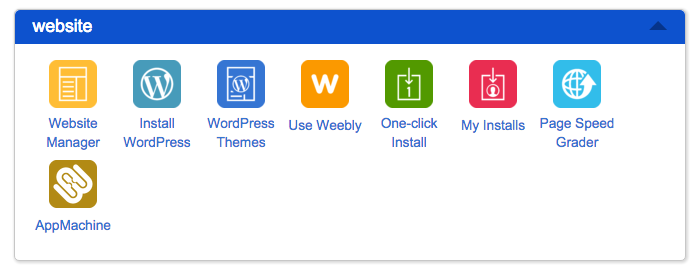
If this isn’t the case (which is very rare), you’ll need to install WordPress manually.
#3: Designing Your Website
Now it’s time to make your website look the way you want!
Trying to create a full-blown, eye-catching, and engaging photography from scratch with a WordPress default theme isn’t the best strategy.
It’s much easier (and faster) to choose a professionally developed photography theme, make a few quick adjustments, add your own content, and then launch your site.
In general, you should choose a WordPress theme that is:
- Customizable. You have almost complete control over the style, layout, and appearance of your site, ensuring it matches your brand image.
- Fast and responsive. It’s vital to grab and hold your visitors’ attention and interest, and a slow-loading website simply won’t work.
- SEO-friendly. A properly optimized website will maximize your chances of showing high in the Google search results, leading to more traffic and potential sales.
However, there is a slight problem. Because with over 20,000+ WordPress themes to choose from, deciding on which one will be best for your photography website could be a time-consuming task!
If you don’t want to take a close look at every single theme available (which would take a fairly long time – 23 days and 8 minutes if you spent 10 seconds browsing every theme and didn’t stop to eat or sleep!), we’ve summarized the best WordPress themes for photographers in our previous post.
Let’s now take a look at how to proceed once you’ve chosen your preferred theme.
#4: Creating Basic Pages
Your website looks fantastic by now – there’s just no content to show to the world. If you feel overwhelmed or not sure where to start, we recommend creating these essential pages we listed below.
The Homepage
The goal of your homepage is to grab attention and keep visitors on your site.
Everyone’s homepage is slightly different.
However, the majority of the most successful photography homepages have these three things in common:
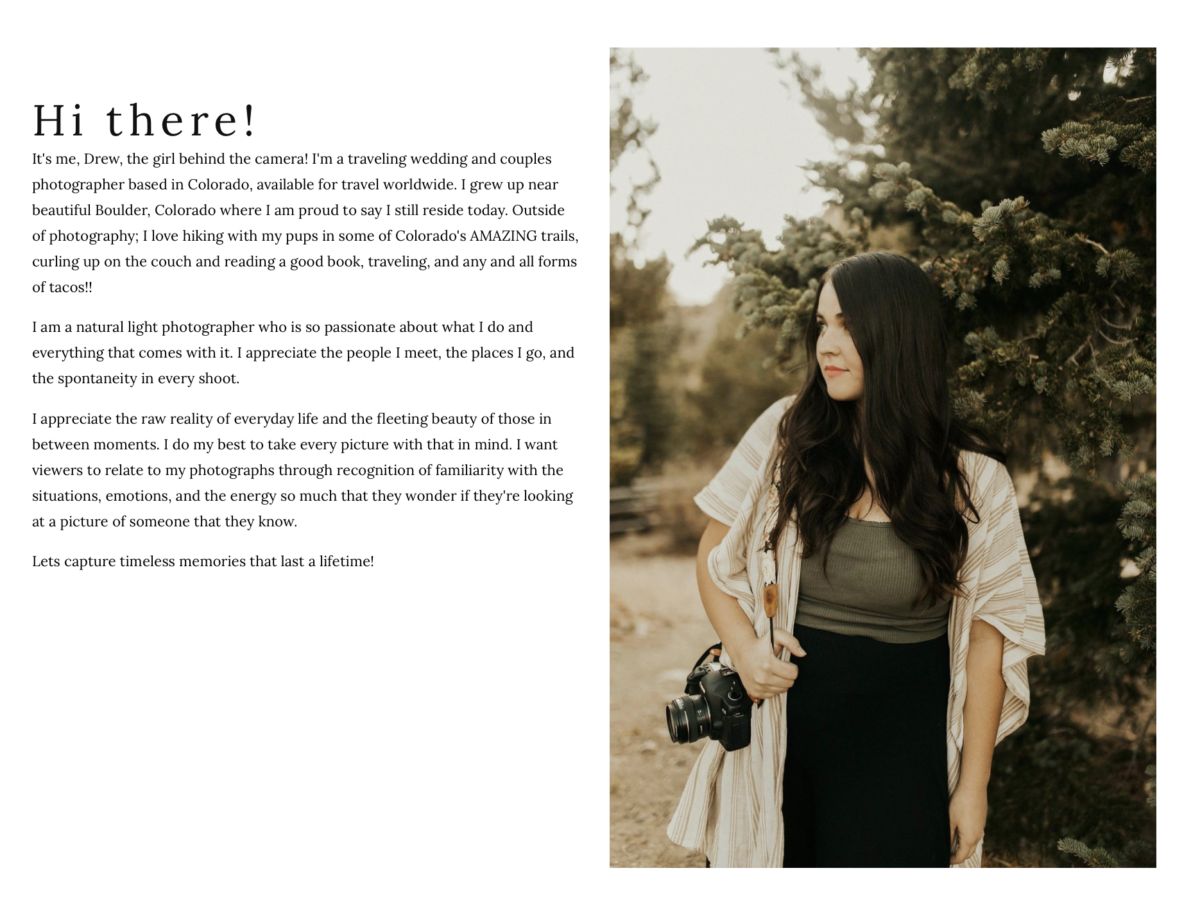
- Introduction. A brief welcoming message introducing yourself or your brand.
- Showcasing your work. Feature a selection of your best photos that represent your style and expertise.
- Call-to-action. Encourage visitors to explore your portfolio or contact you for more.
Make sure you include them on your page too!
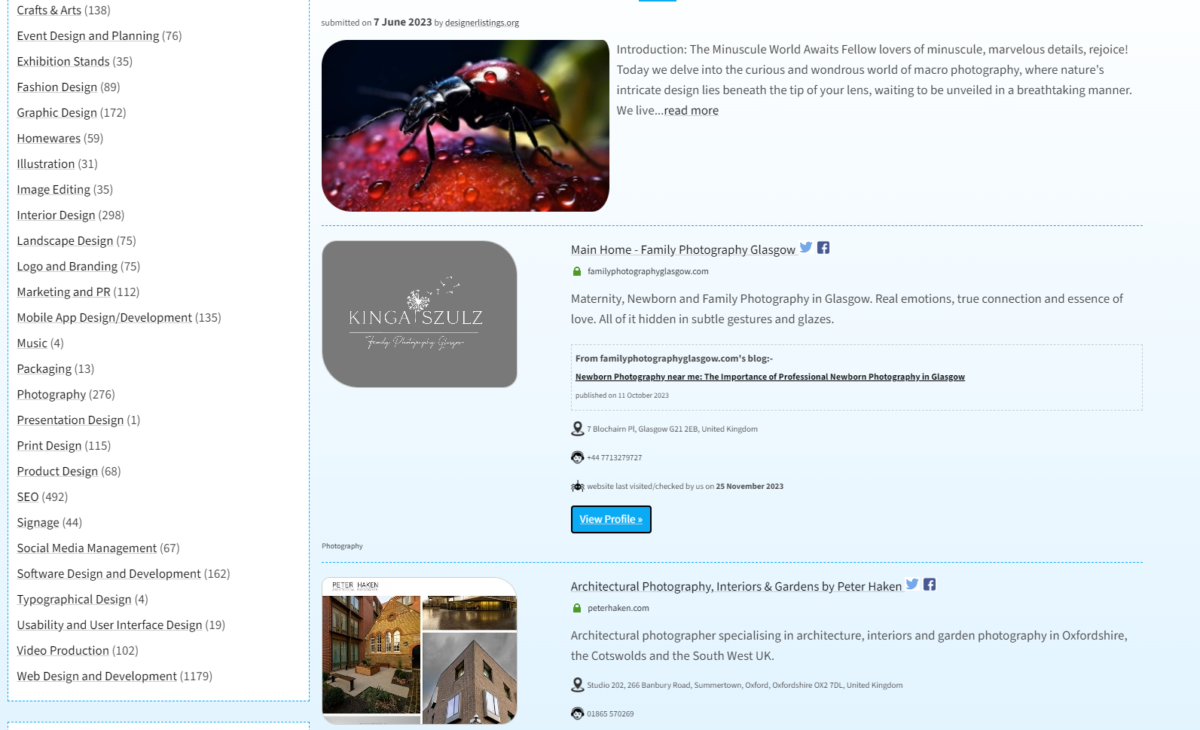
If you’re looking for some inspiration, take a look at some of the websites showcased on either Designer Listings or SiteBuilderReport. between these two sites you’re bound to find some creatively designed sites from some great photographers around the world.
This page is all about you and your brand’s mission.
Don’t try to sell your services here, instead, show your audience who you really are. Talk about your background, interests, and hobbies.
We also recommend writing about your mission and photography story.
Tell your audience what your vision is, why you got into photography, and what you are trying to achieve.
The more personal it is, the better.
Contact Page
Give your audience an option to reach out to you.
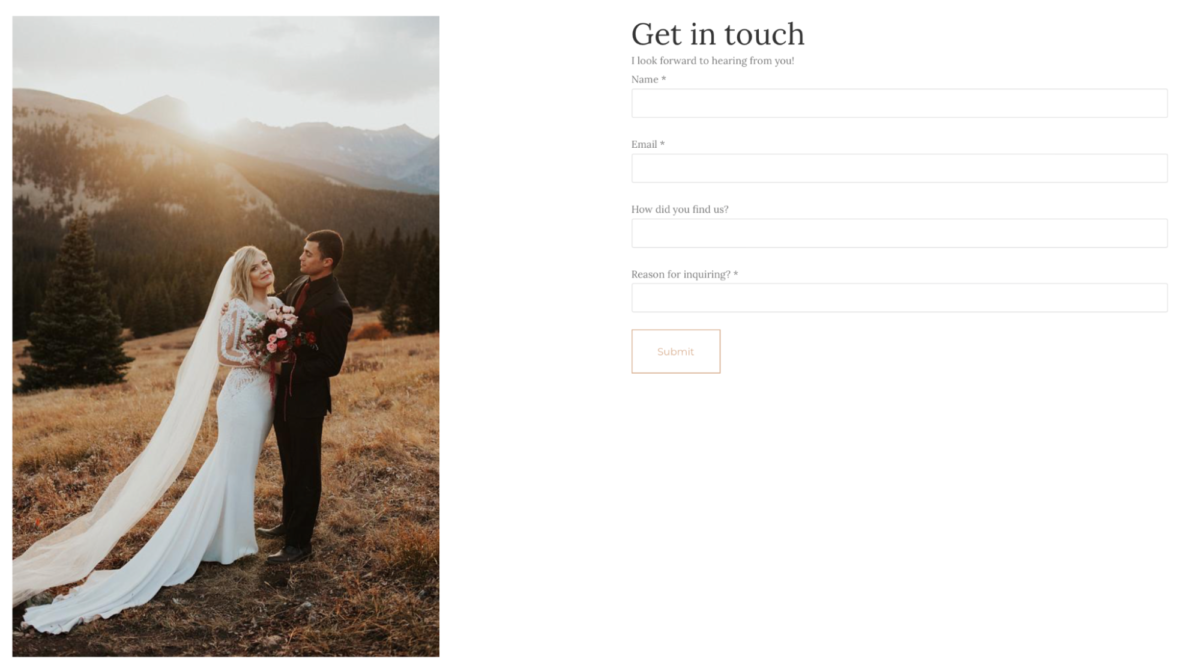
We recommend offering multiple communication channels, so your visitors can choose the one that suits them best, encouraging them to reach out.
This can do wonders for your photography gigs.
Also, don’t forget to add additional contact details, such as:
- Location
- Social media
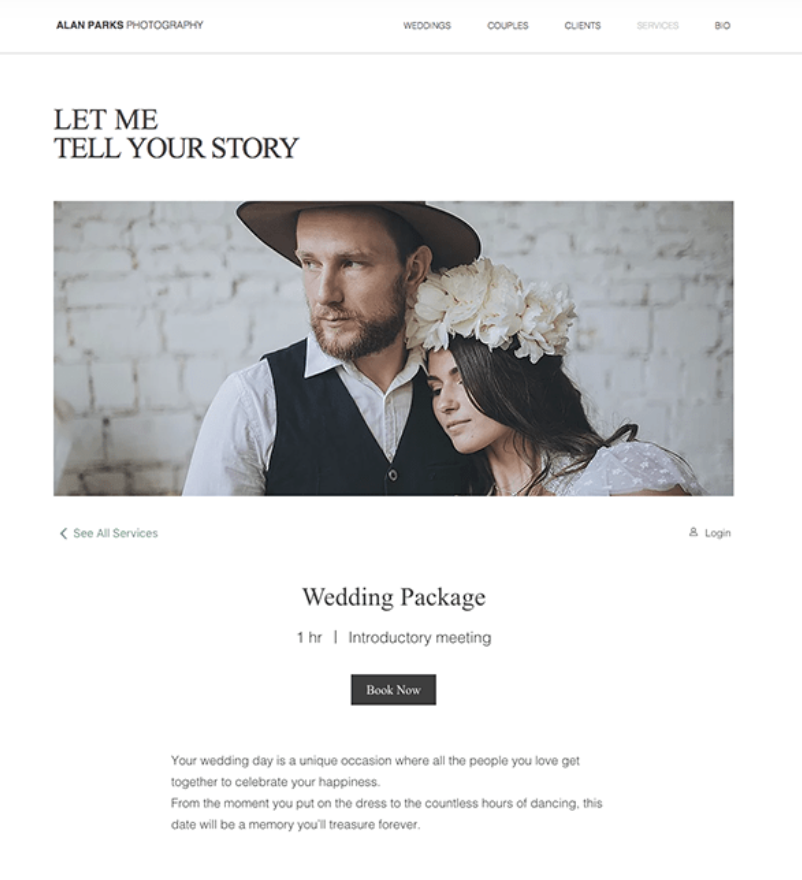
Services Page
You also want to maximize your chances of getting new projects.
The best way to do that is to create a separate page where you detail precisely what you do, how much you charge, and provide booking information.
#6: Installing Photography Plugins
Now it’s time to add more photography capabilities to your WordPress website.
For that, you’ll need to install external plugins. We’ve done the heavy lifting for you and chosen the three best photography plugins out of 59,000+ available plugins on the WordPress platform.
Each plugin serves a different purpose, so you should use all of these plugins in combination.
Picu
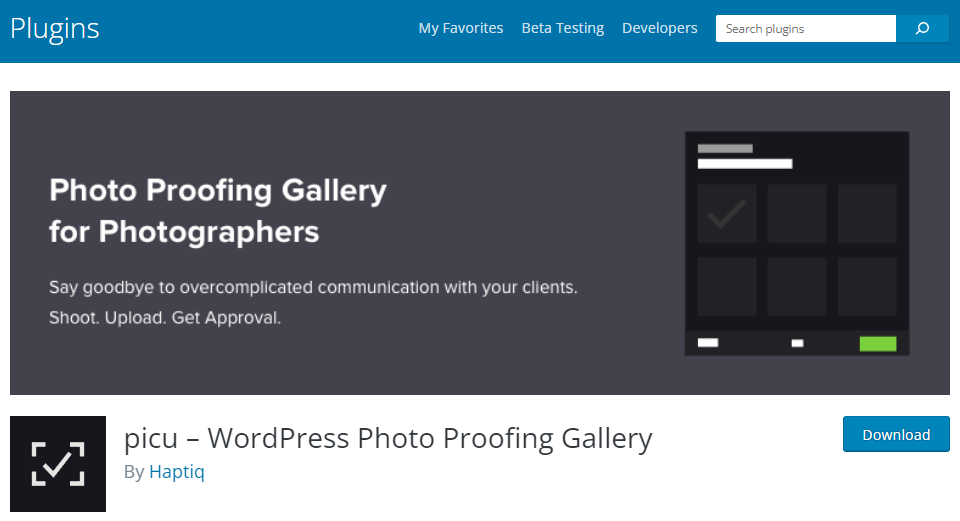
First on our list is picu, our own WordPress plugin, which is one of the most popular plugins for professional photographers who need to work with clients through the approval stage.
Using picu will save you considerable time and money by simplifying and securing the process of client photo selection. As you know, the selection process with your clients can be a drain on your resources…
Does this sound familiar at all to you? You’ve turned up, taken many, many photos, uploaded them to your website for your client to look at, after which you wait for them to email you or call you to let you know which ones they want to order. “The third one from the left on the second row up with the person next to that other person… the one with the head, you know?”.
Then you find they’ve chosen 84 photos, but only ordered the package of 12, so you have to go back and forth with multiple calls and emails to get it right.
As photographers ourselves, we had the exact same problem. Which is why we created picu.
We’ve made sure that picu takes the hassle out of this stage by providing you with all the tools you need to make the process of approval as easy, simple, and foolproof as possible.
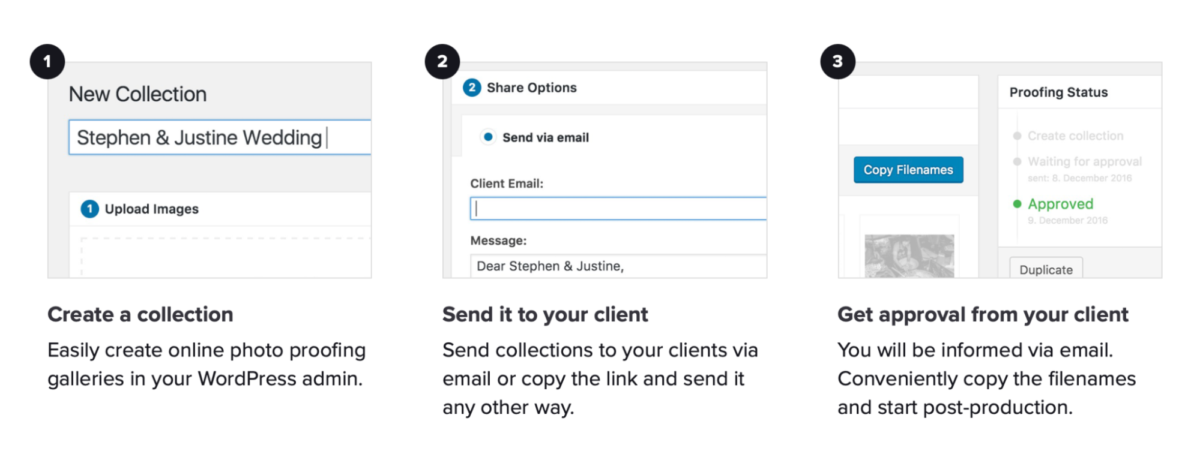
Say goodbye to overcomplicated communication with clients and instead shoot, upload, and get approved. No more back-and-forth emails, no more errors from manual selections.
If this sounds like a great fit, get started with picu today.
Gallery Block (Meow Gallery)
Meow Gallery is a tailor-made WordPress gallery plugin for photographers and visual creators. It offers a fully responsive design with eye-catching layouts that seamlessly showcase your artwork on all devices.
This plugin is compatible with the default WordPress block editor, Gutenberg, allowing you to display images in a variety of ways, such as Titles, Masonry, Justified (like Flickr), and Square (like Instagram) layouts.
The Meow Gallery plugin comes with built-in SEO optimization, and automatically integrates your image collection into your sitemap, which helps improve the search engine visibility of your photography website. This feature is especially beneficial for stock photography platforms.
The plugin is available for free, with a Pro version starting at $19.
You can download Meow Gallery here.
Smush
WP Smush is one of the most popular WP image compression plugins.
Their FREE image compression plugin is fantastic for simple compressions of JPG and PNG image formats. You can also compress images directly in the WP media library, which saves a lot of time – something not every compression plugin supports.
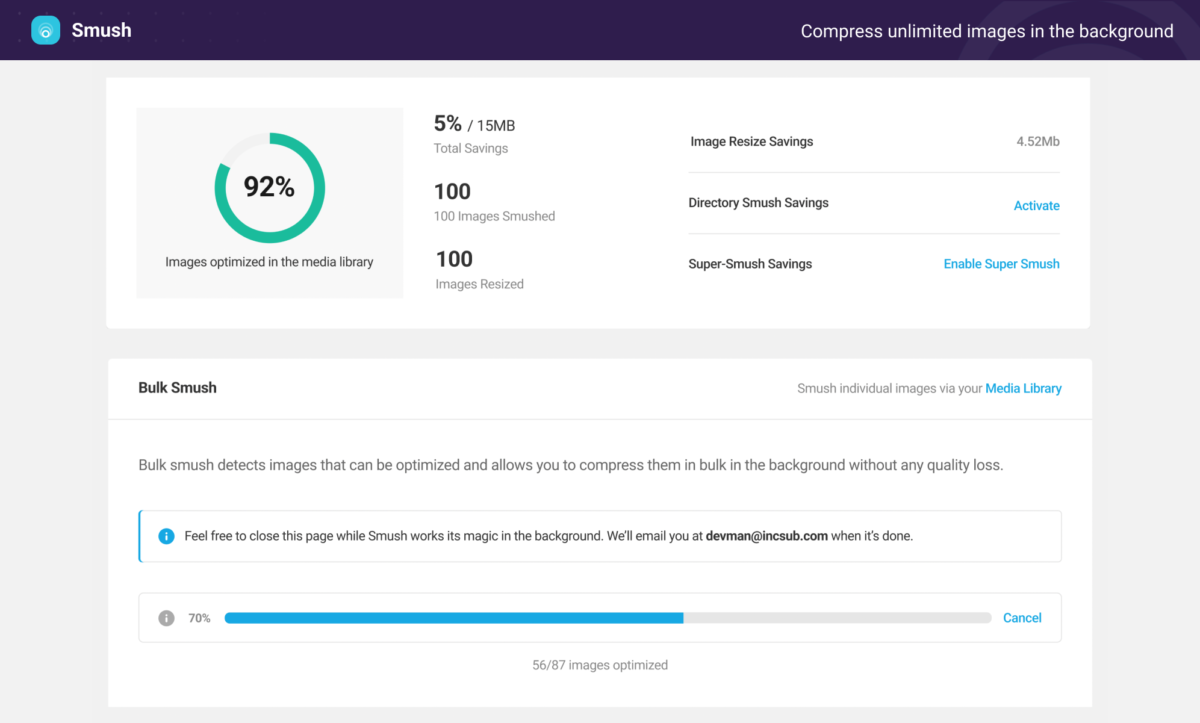
The compression is very decent – resulting in a 94% reduction of image size.
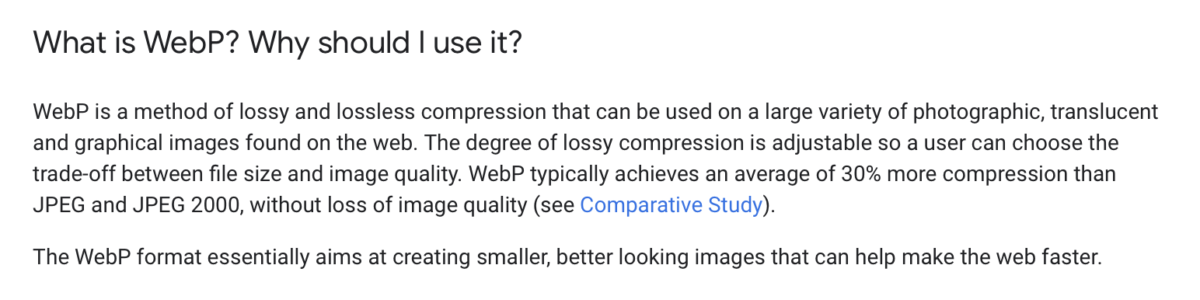
If you were to compress a PNG image, WP Smush would also convert the PNG image into WebP – a next-generation image format recommended by Google.
Plus, WP Smush can detect wrong-sized images.
If you activate this feature, your images will be highlighted with smart tips to let you easily resize them.
You can download WP Smush directly from the WordPress plugin library for FREE.
#7: Optimizing Your Website
We’re not done yet!
Your website is probably looking beautiful by now. However, there are a few aspects you still need to work on, including:
- Website security
- Caching and load time
- Search engine optimization
Caching
A cache is the temporary storage of elements of a web page, or even the entire web page, and they can exist either on the web server, or within the user’s browser.
As a website owner, using caching on your web server will significantly reduce the amount of work needed to be carried out by the server to generate and serve web pages to visitors, helping to speed up the delivery of those pages. This not only improves the user experience, which is an essential part of making sure your website is successful, but it can also help to reduce your server and bandwidth costs.
For many photography sites there are often relatively few changes to many of the pages, and so if the server has cached a copy of your page, it can deliver that to the user when requested much more quickly than having to run the code needed to generate the page from scratch each and every time it’s needed.
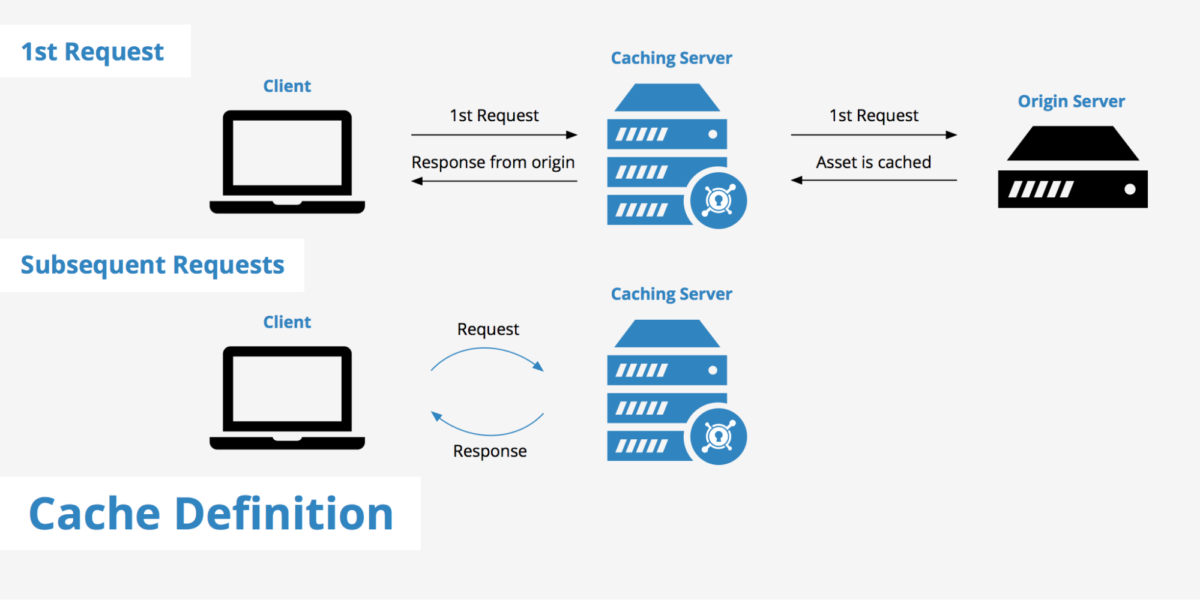
Source: Key CDN
Caching massively speeds up the load time of your website – something that’s essential for keeping your visitors on your site.
To add caching to your photography website, we recommend using the W3 Total Cache plugin.
W3 Total Cache is the most popular WordPress caching plugin, helping you improve:
- SEO
- Core Web Vitals
- User experience
It supports caching, CDN management, and AMP.
You don’t need to know more about these technical details. All you need to know is that it will massively speed up your photography site!
You can start using W3 Total Cache for FREE by installing it from the WP plugin library.
Automatic Backup
Backups are essential to make sure you don’t lose your site should something go wrong. With a backup, you can easily recover your website and get it back up and running quickly.
For that, we suggest using the UpDraftPlus plugin – in our opinion the best backup plugin.

UpdraftPlus is the world’s highest ranking and most popular scheduled backup and migration plugin. You can back up a website to your preferred storage location and restore it in just three clicks – that’s all it takes!

You can also choose which specific components you want to restore, such as:
- Plugins
- Themes
- Databases
This is very helpful when you set up a plugin or theme incorrectly and have no way of restoring the previous version.
Instead of starting from scratch, you just load a backup and you’re done.
Search Engine Optimization
Search engine optimization is vital for driving organic traffic to your website. It will let you rank high in the search results page, while also preventing any unwanted penalties from Google.
The most popular, and our favorite, SEO plugin is Yoast SEO.

Yoast SEO is a WordPress plugin that will ensure that your site meets the highest technical SEO standards. It also gives you the tools to optimize your content for SEO and overall readability.
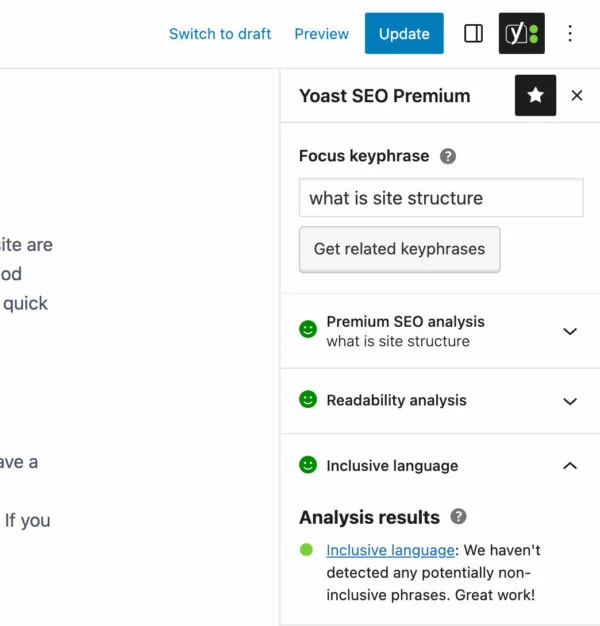
We’ve seen a great increase in search rankings in Google with Yoast SEO compared to past posts where we didn’t use this plugin.
You can get Yoast SEO for FREE from the WordPress plugin library.
Conclusion – Create a Stunning Photography Website
Photography websites are great for showcasing your photos to the world and connecting with other photographers.
By following the advice and steps covered in this article you can create your own presence on the web, and gain more clients and interest.
If you’re looking for additional photography website tips, you might find some of our other recent articles useful:
- How to Fix the Two Most Common WordPress Image Upload Issues
- Image SEO for Photographers
- What Is Photo Proofing And How Does It Help Your Clients?
Are you a photographer who is drawn to WordPress?
picu, our WordPress plugin for photographers, saves you time – making it easy to get photos approved. Say goodbye to waiting for clients, doing extra unpaid work, or delays caused by clients.
Just shoot, upload, and get photos approved by the client with a single click.

No more emails back and forth, no more errors from manual selections. Focus more on what you love – and make more money doing it!
Try the free version of picu today and upgrade for more when you’re ready:
- Brand and customize. Add your own logo, adjust colors, and even use Google or Typekit Fonts to make picu your own!
- Mark and comment. Let clients send you directions for post-processing or collect more information from your client.
- Selection options. Some jobs require an exact number of images. Other times, a broader range might suffice. picu Pro has you covered and allows you to set selection goals for your collections.