With picu, we set out to make the client proofing process for photographers and their clients as easy as possible.
Client proofing is the selection process a photographer goes through with clients after a photo shoot, when the client selects which images should be post-processed.
Quite often, this process is a bit of a mess, which we realized during our work with several photography clients as well as our own work in the photography business.
How does picu help in that regard?
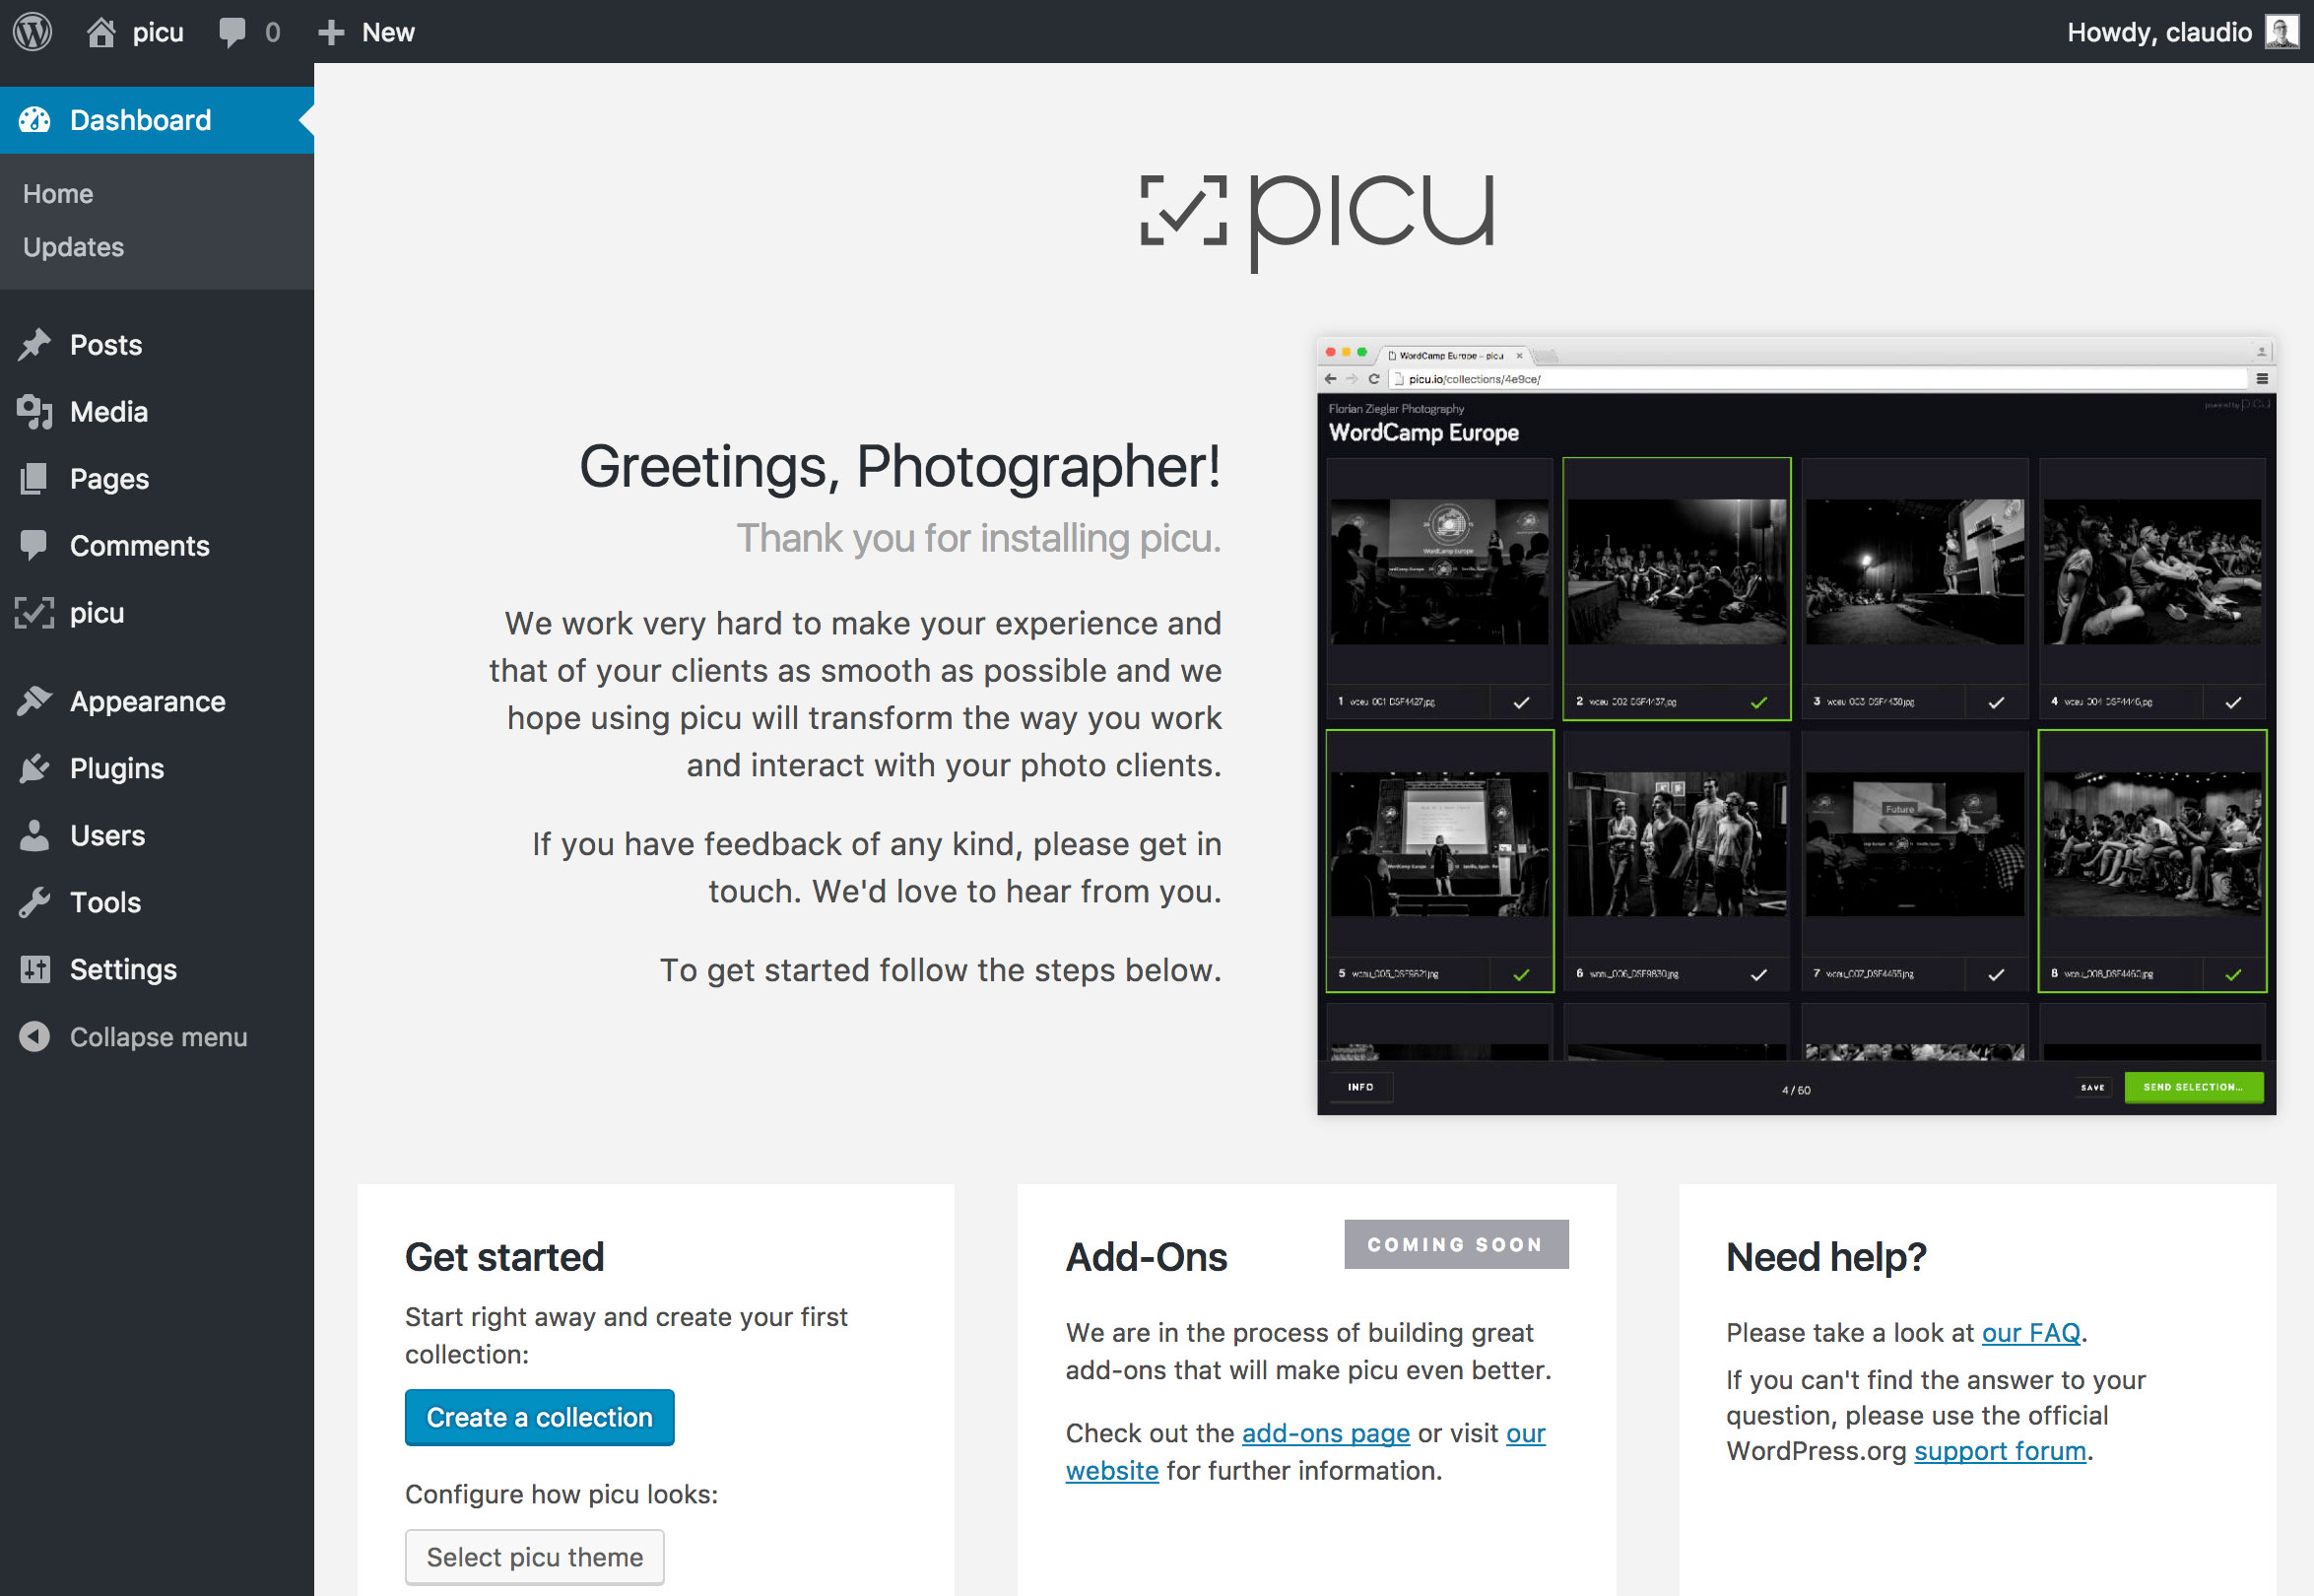
As a WordPress plugin, it lives exactly where you manage your website, inside your WP-Admin. The plugin can be found on the WordPress.org repository for free. You can download and install it, just like any other plugin.

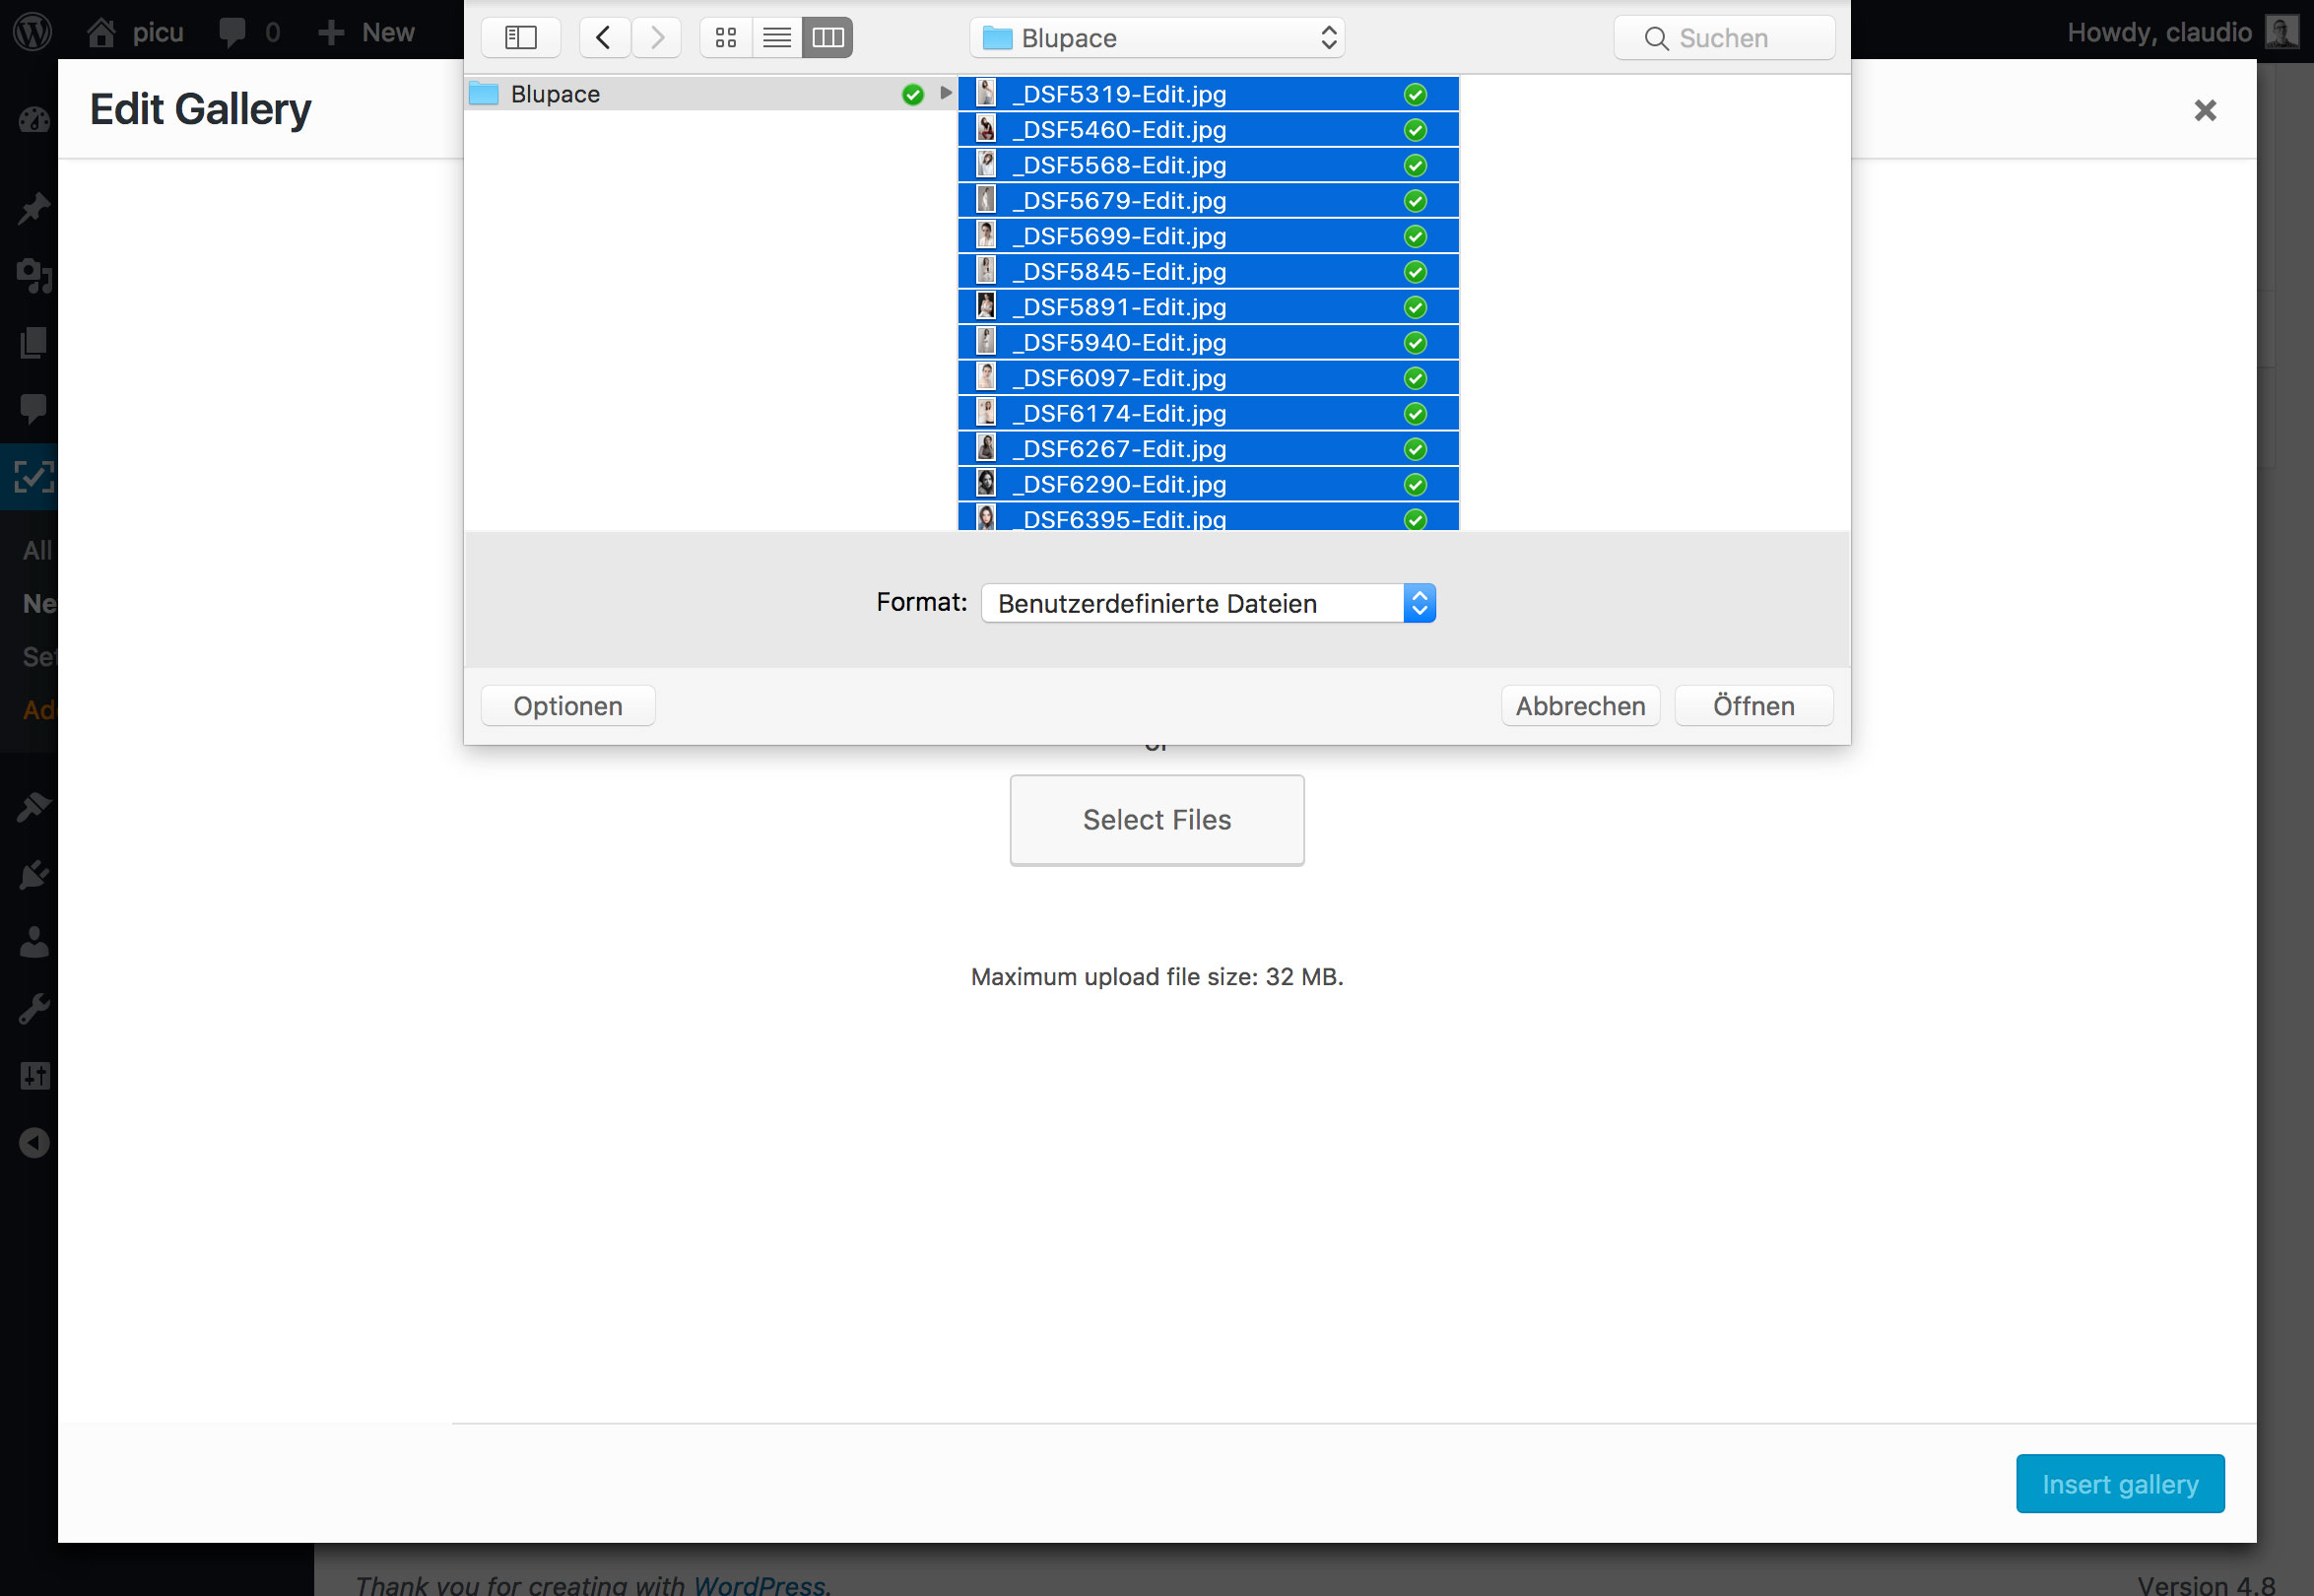
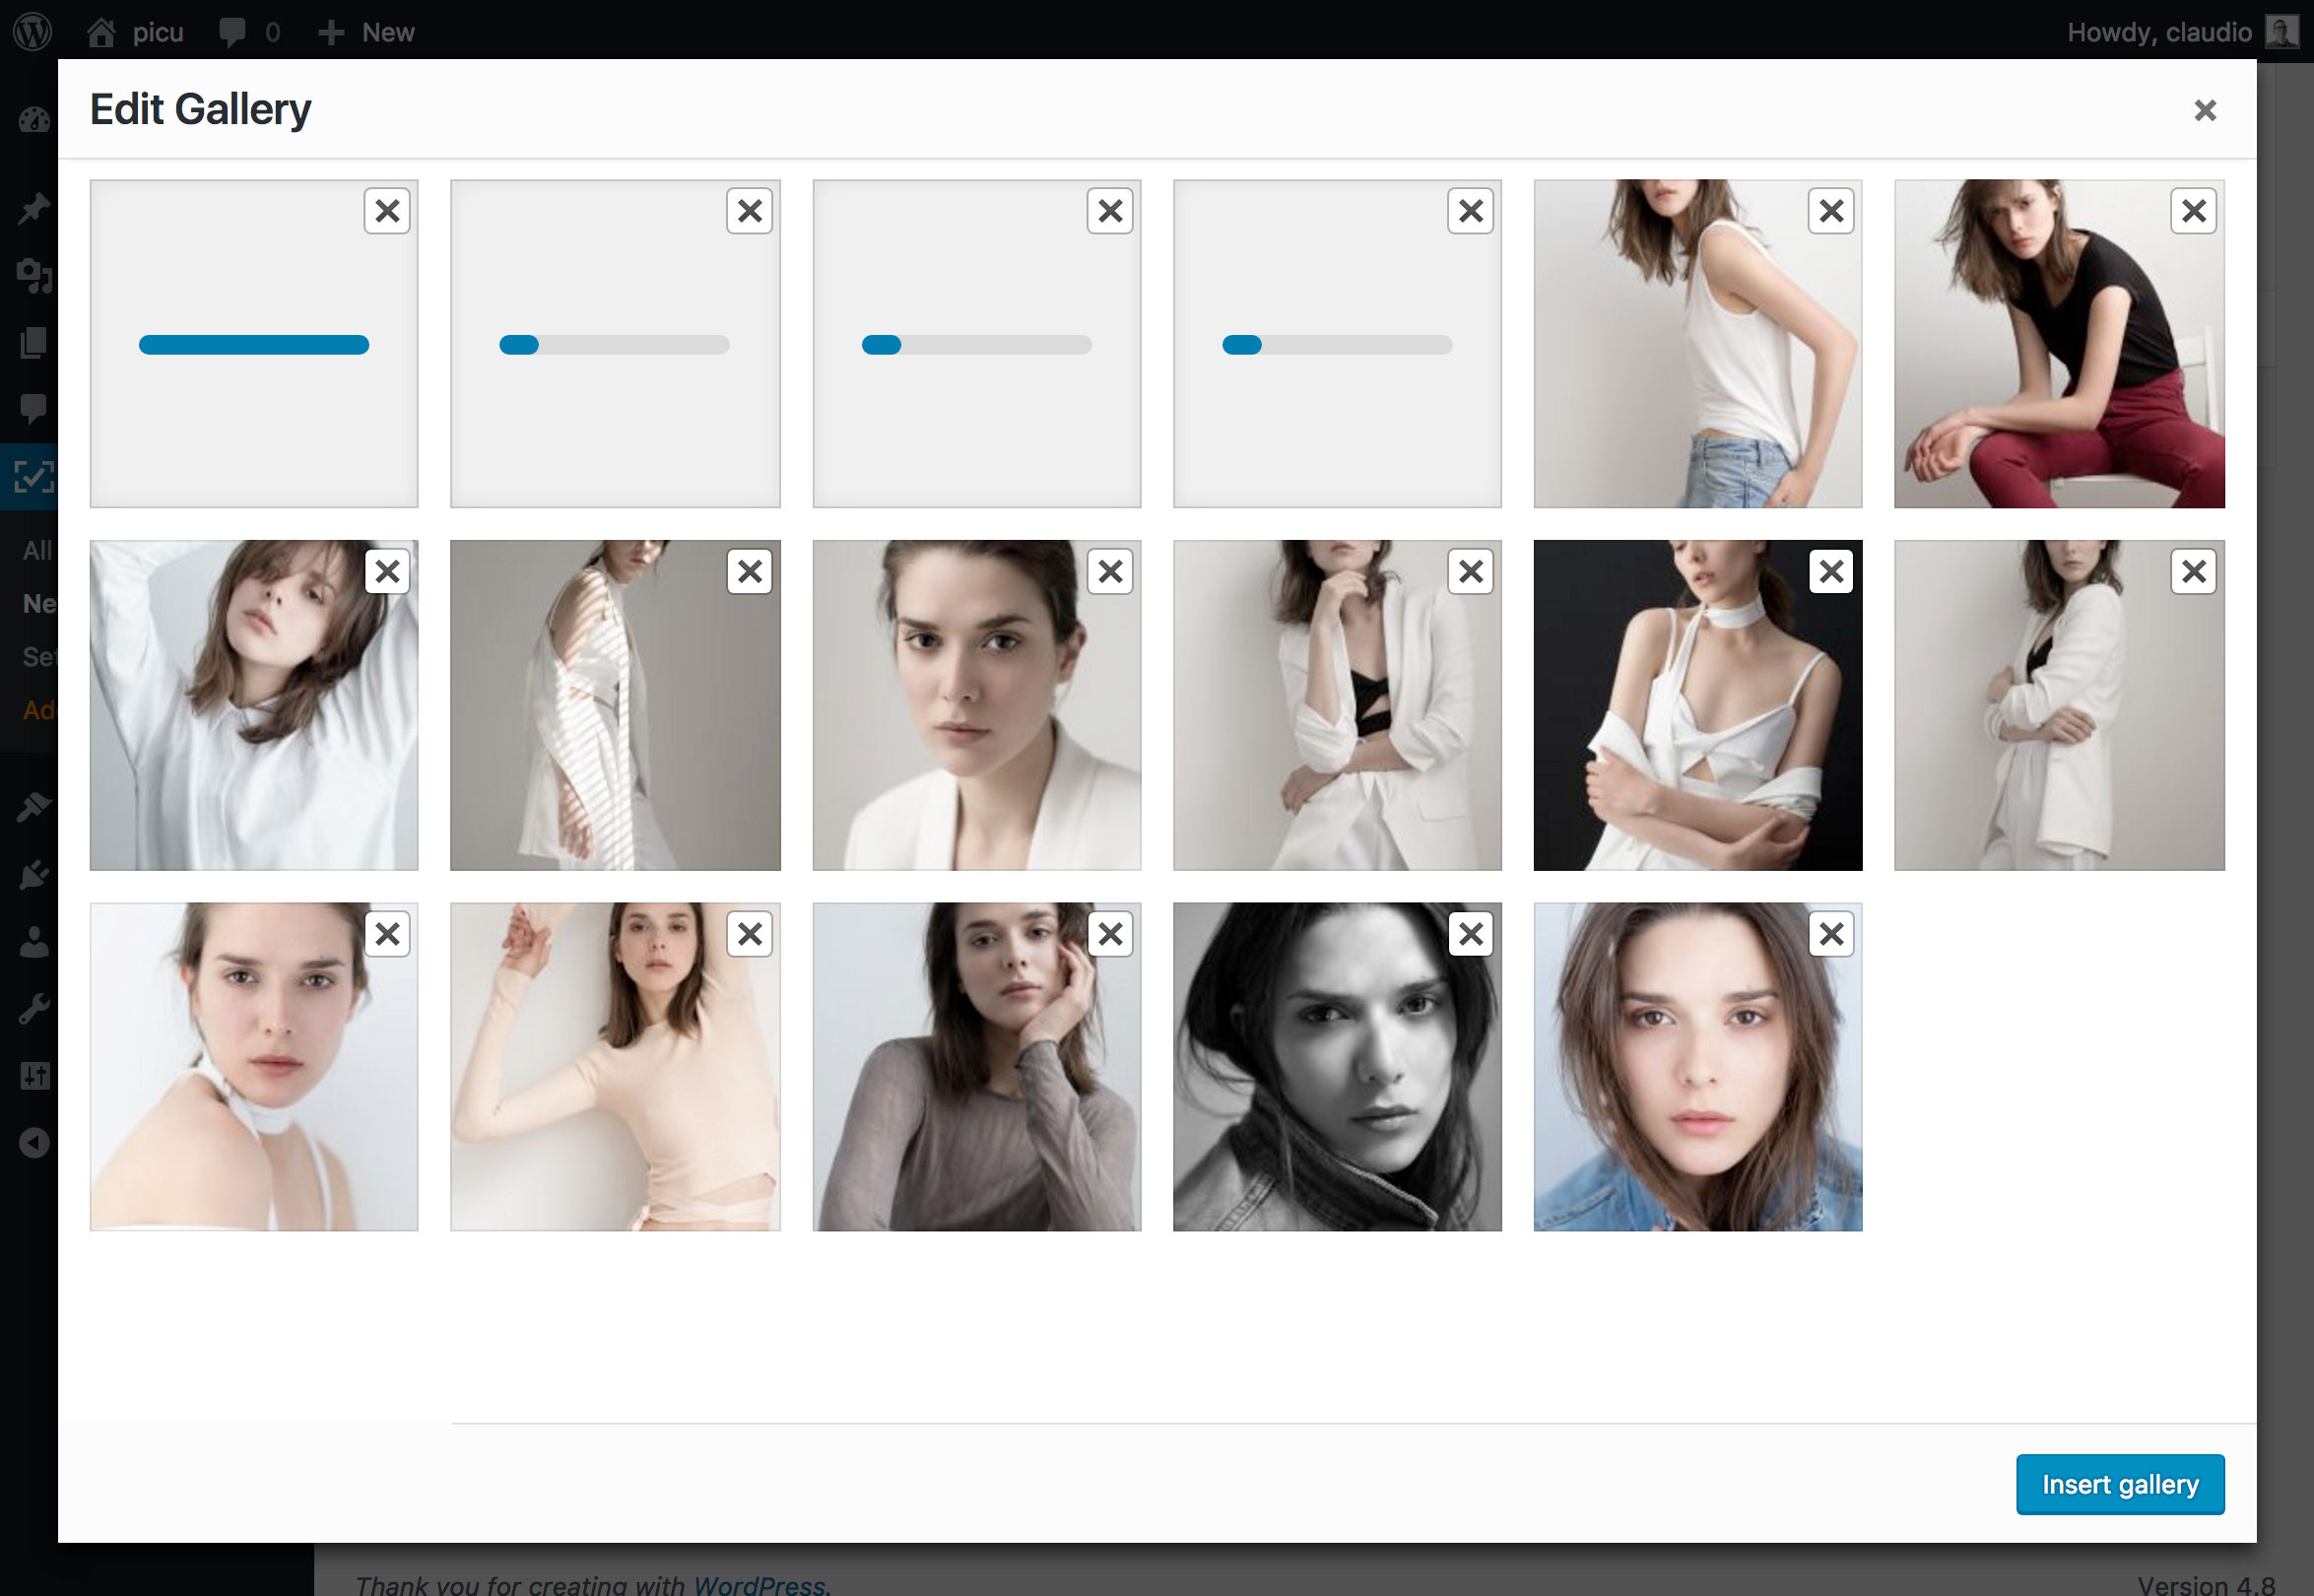
After installation and activation you get a new menu item „picu“. From there you can create new collections and upload the images you’d like to send to your client.

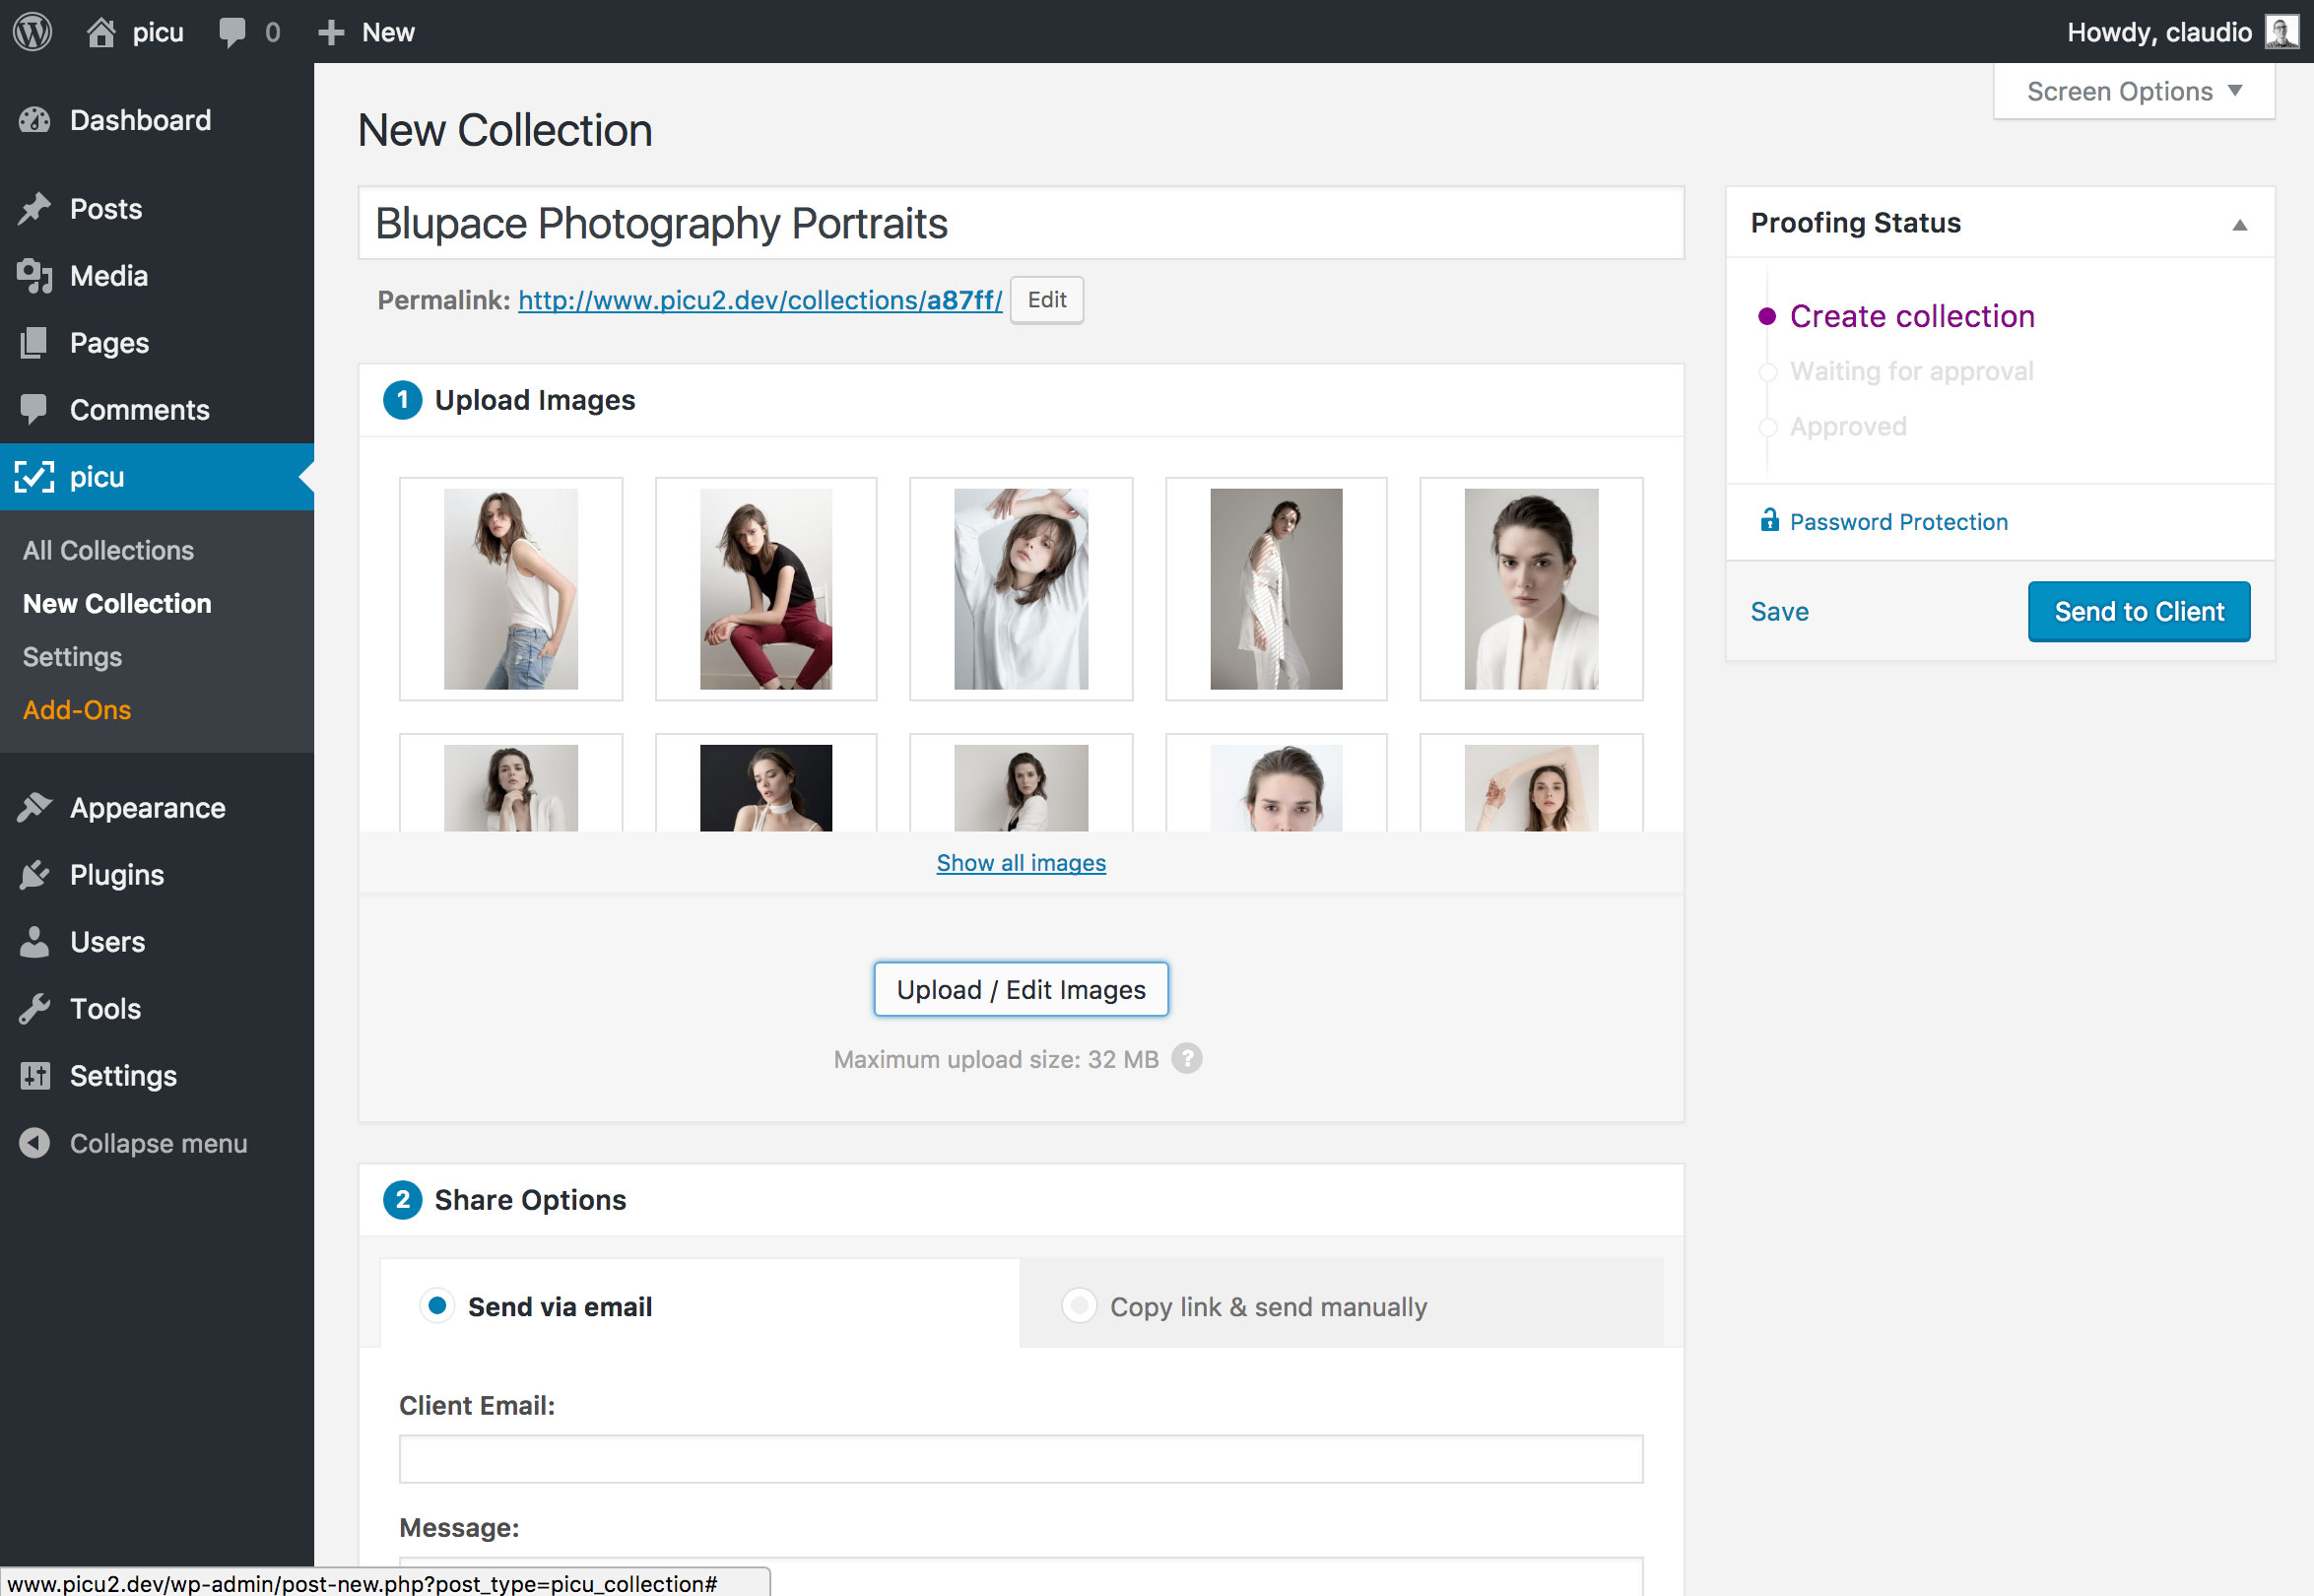
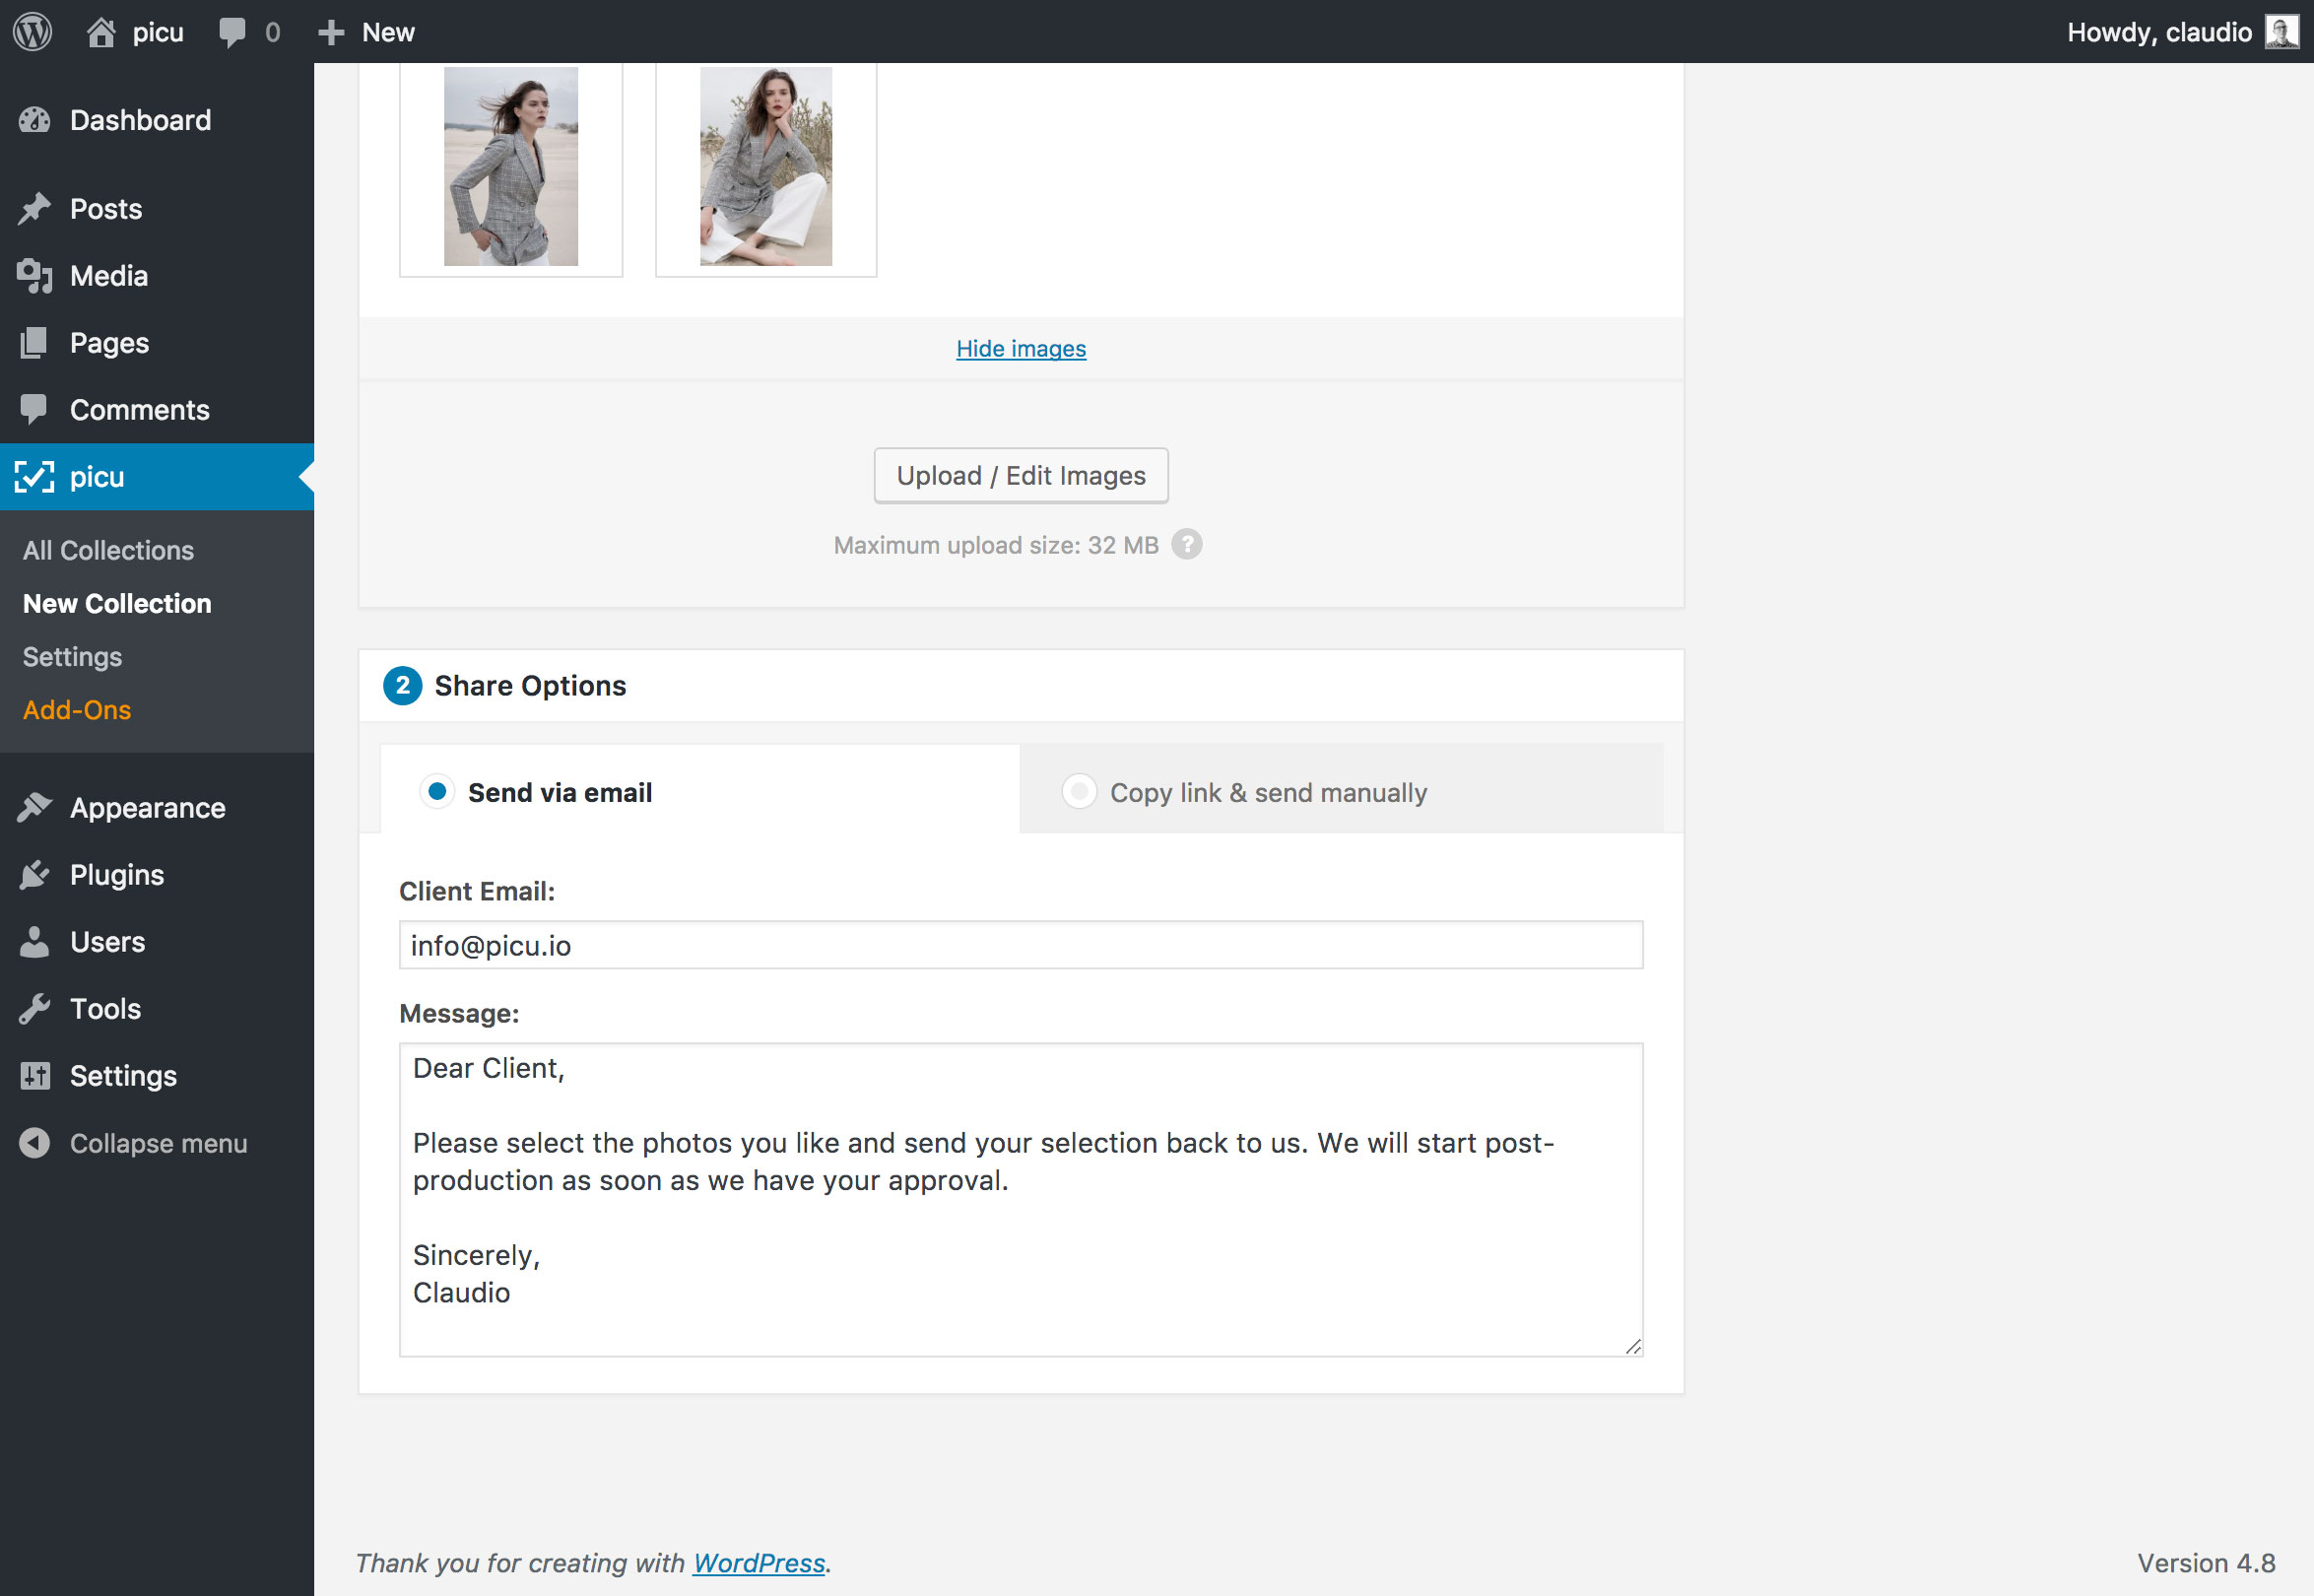
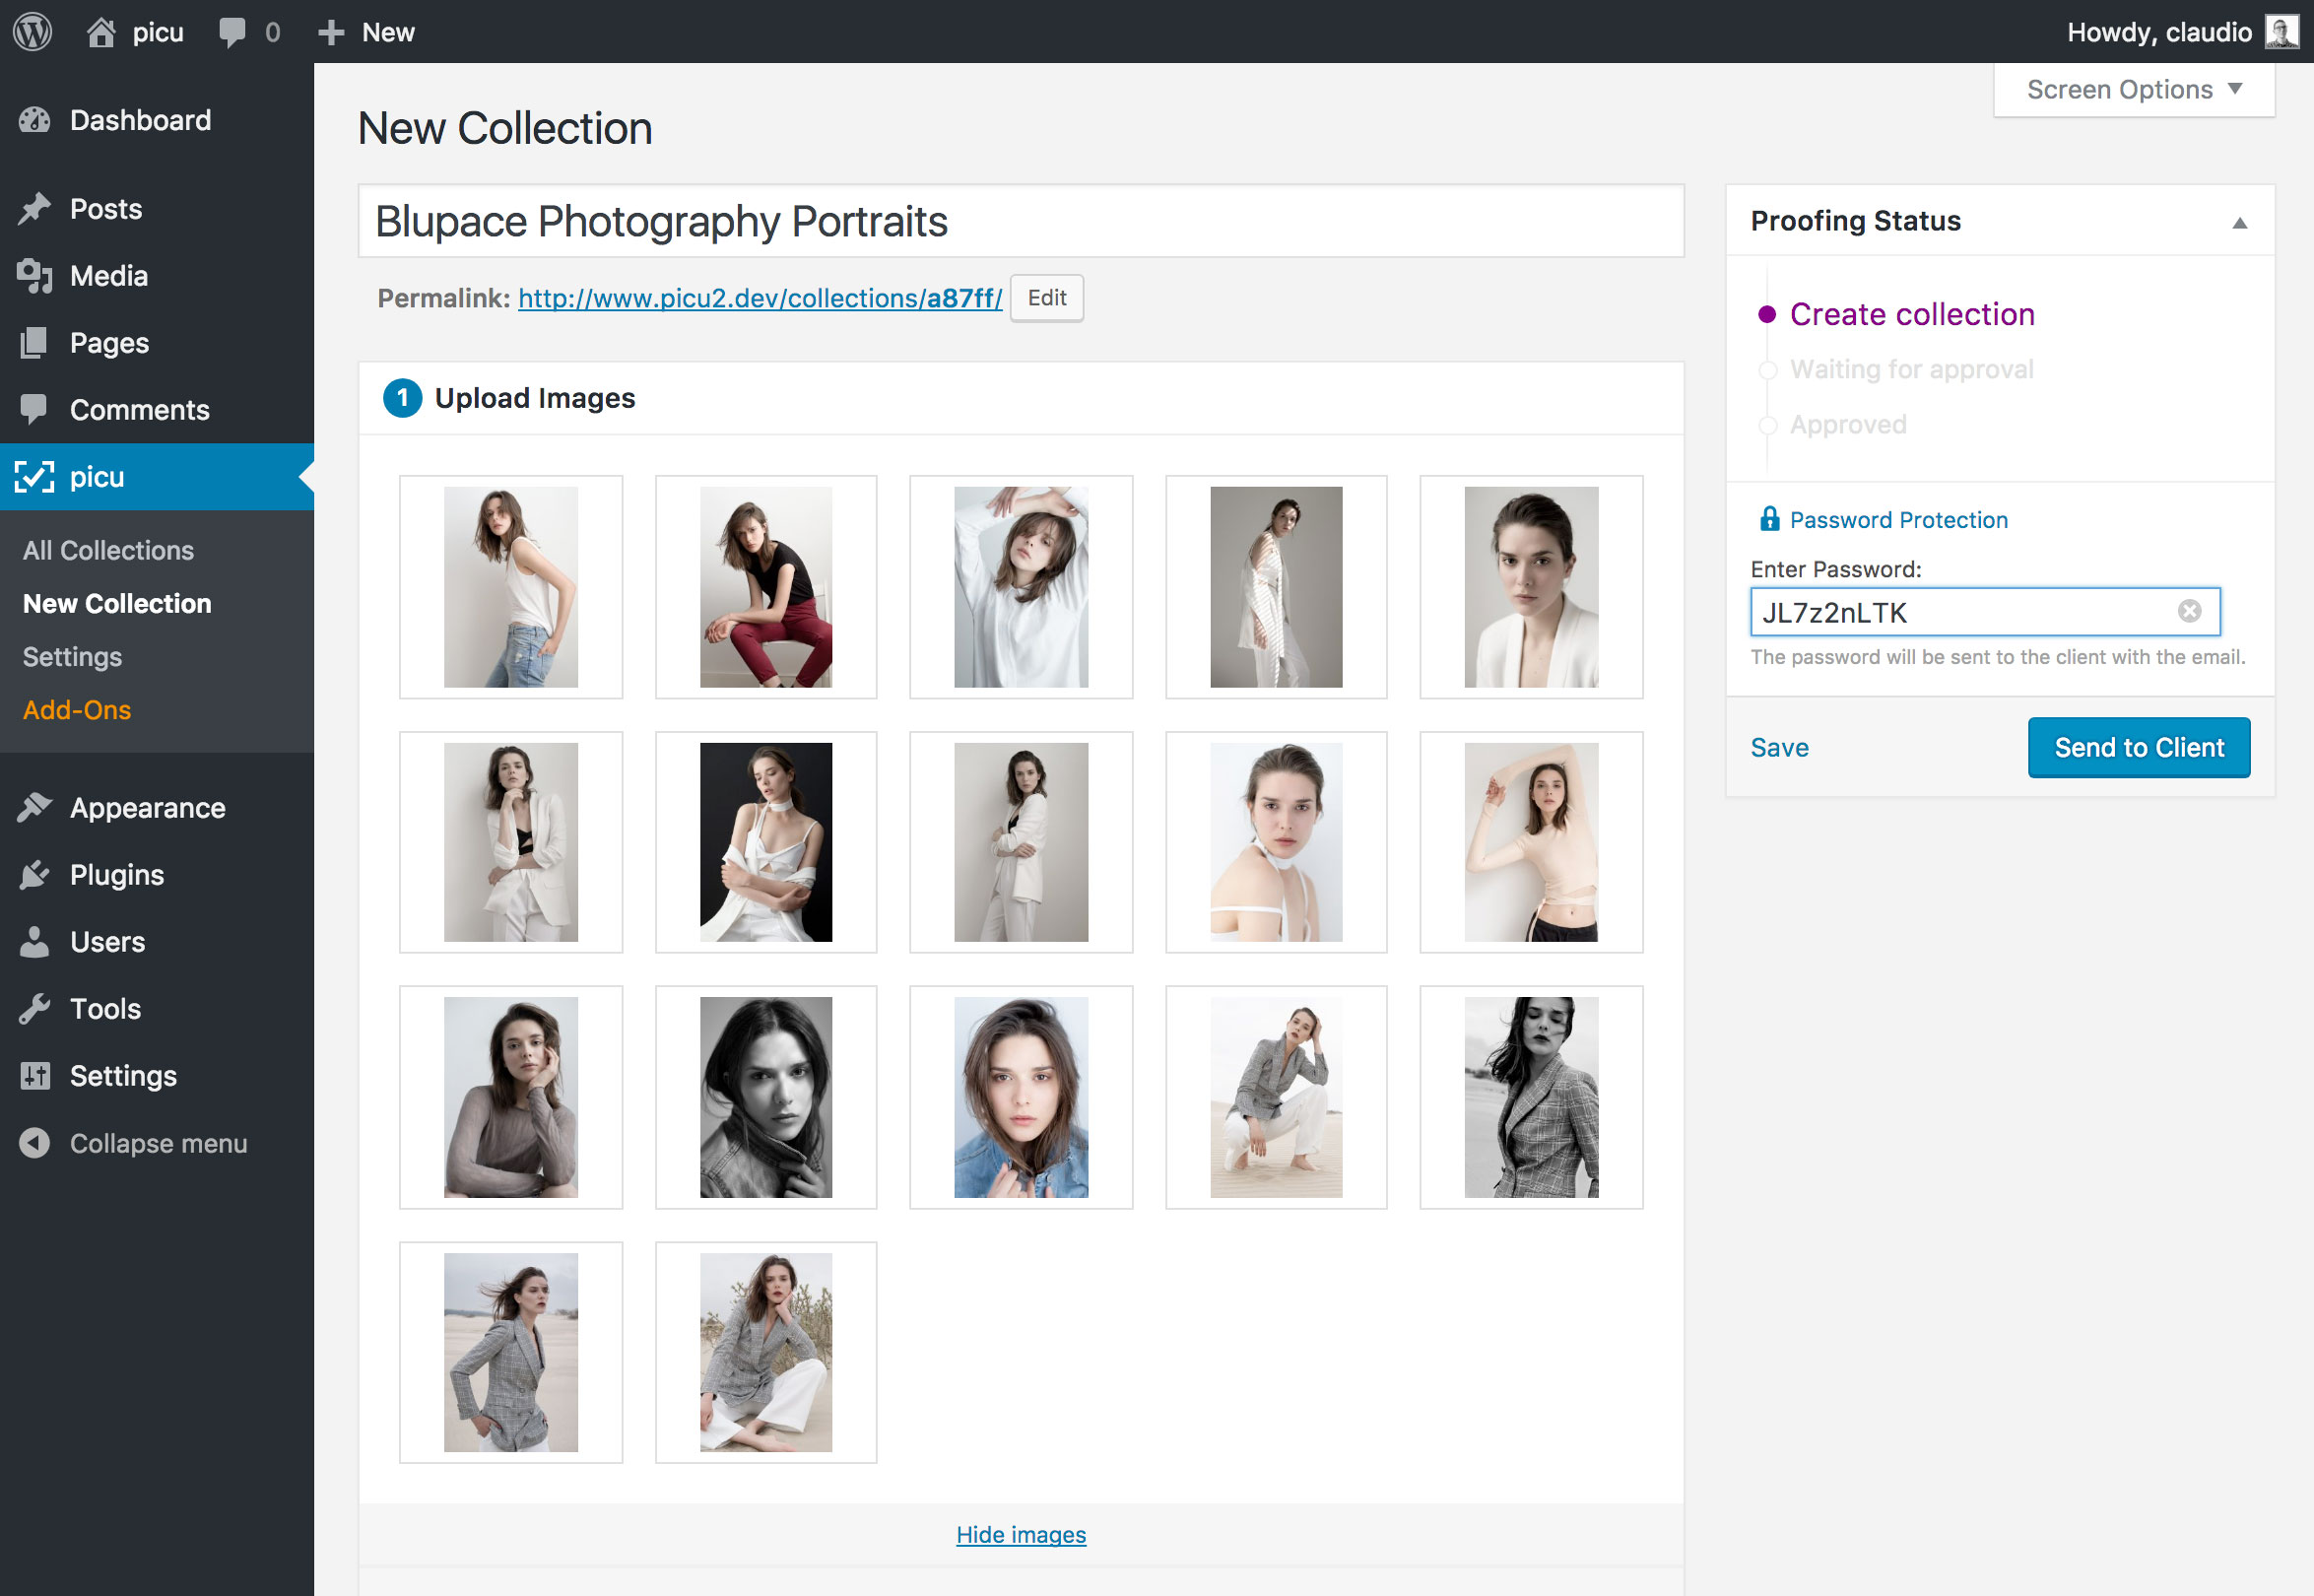
After the images are uploaded you can either copy the link to the collection and send it manually or enter the email address of your client to send a nicely formatted HTML email.

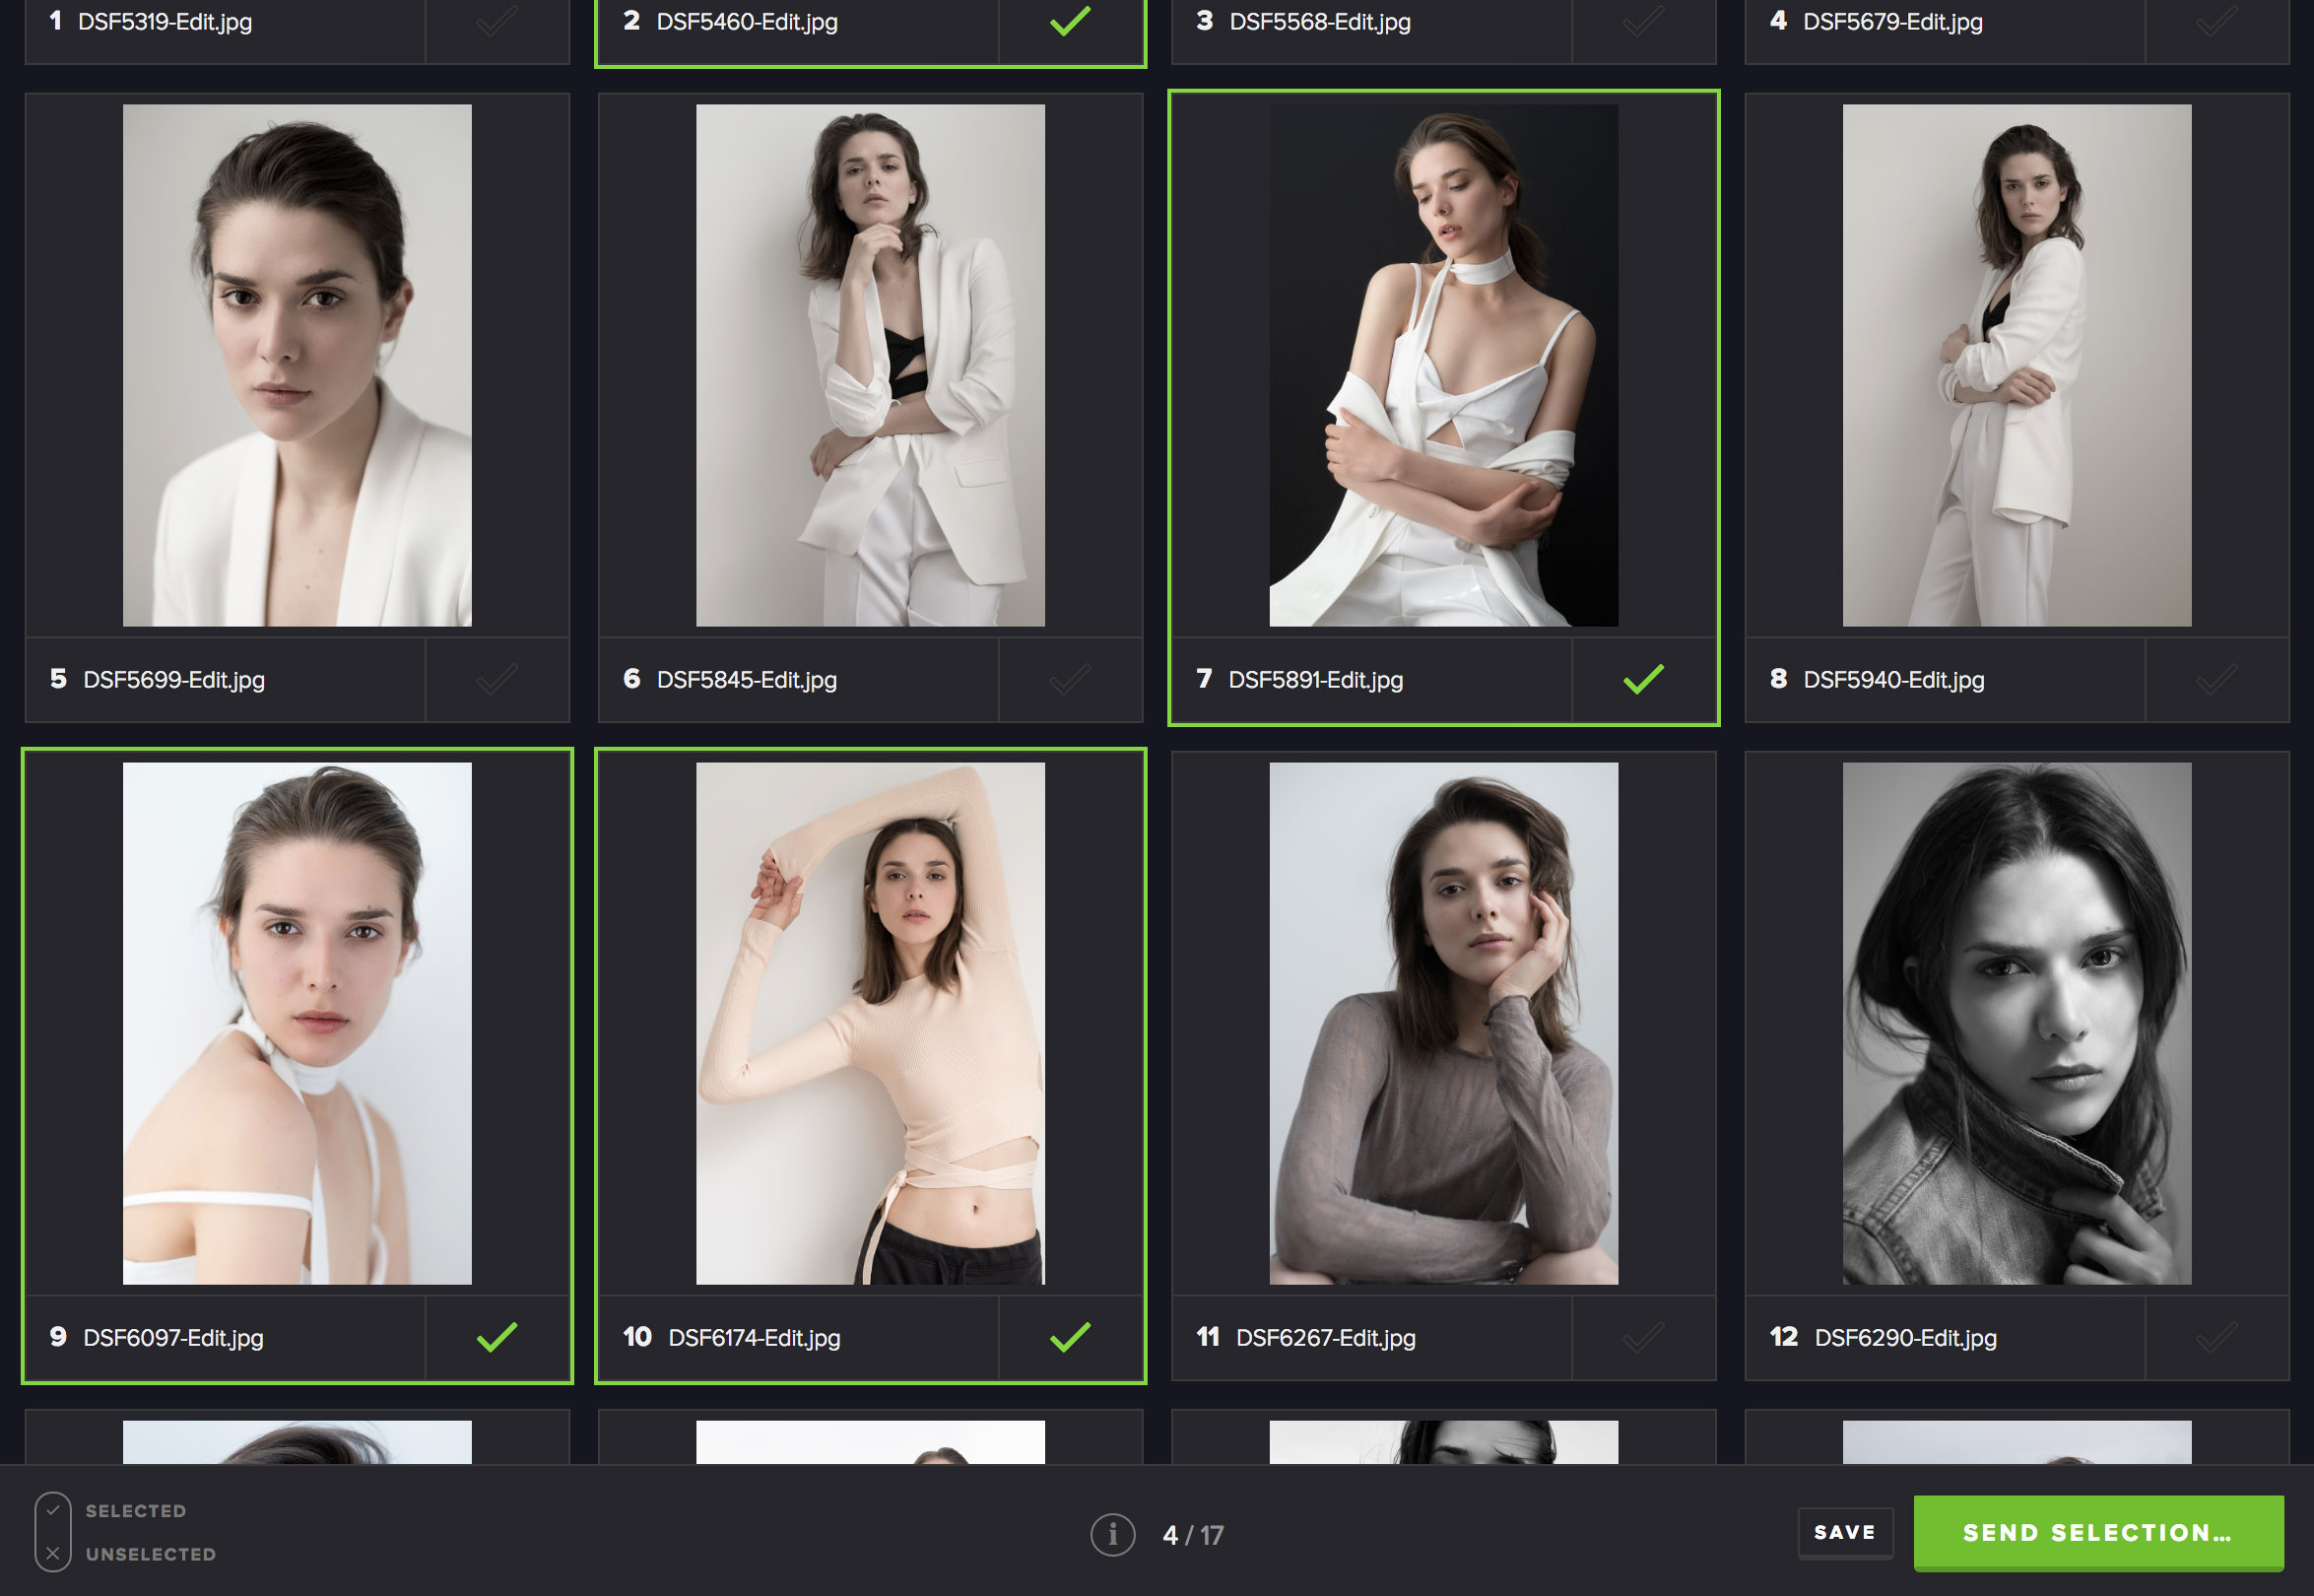
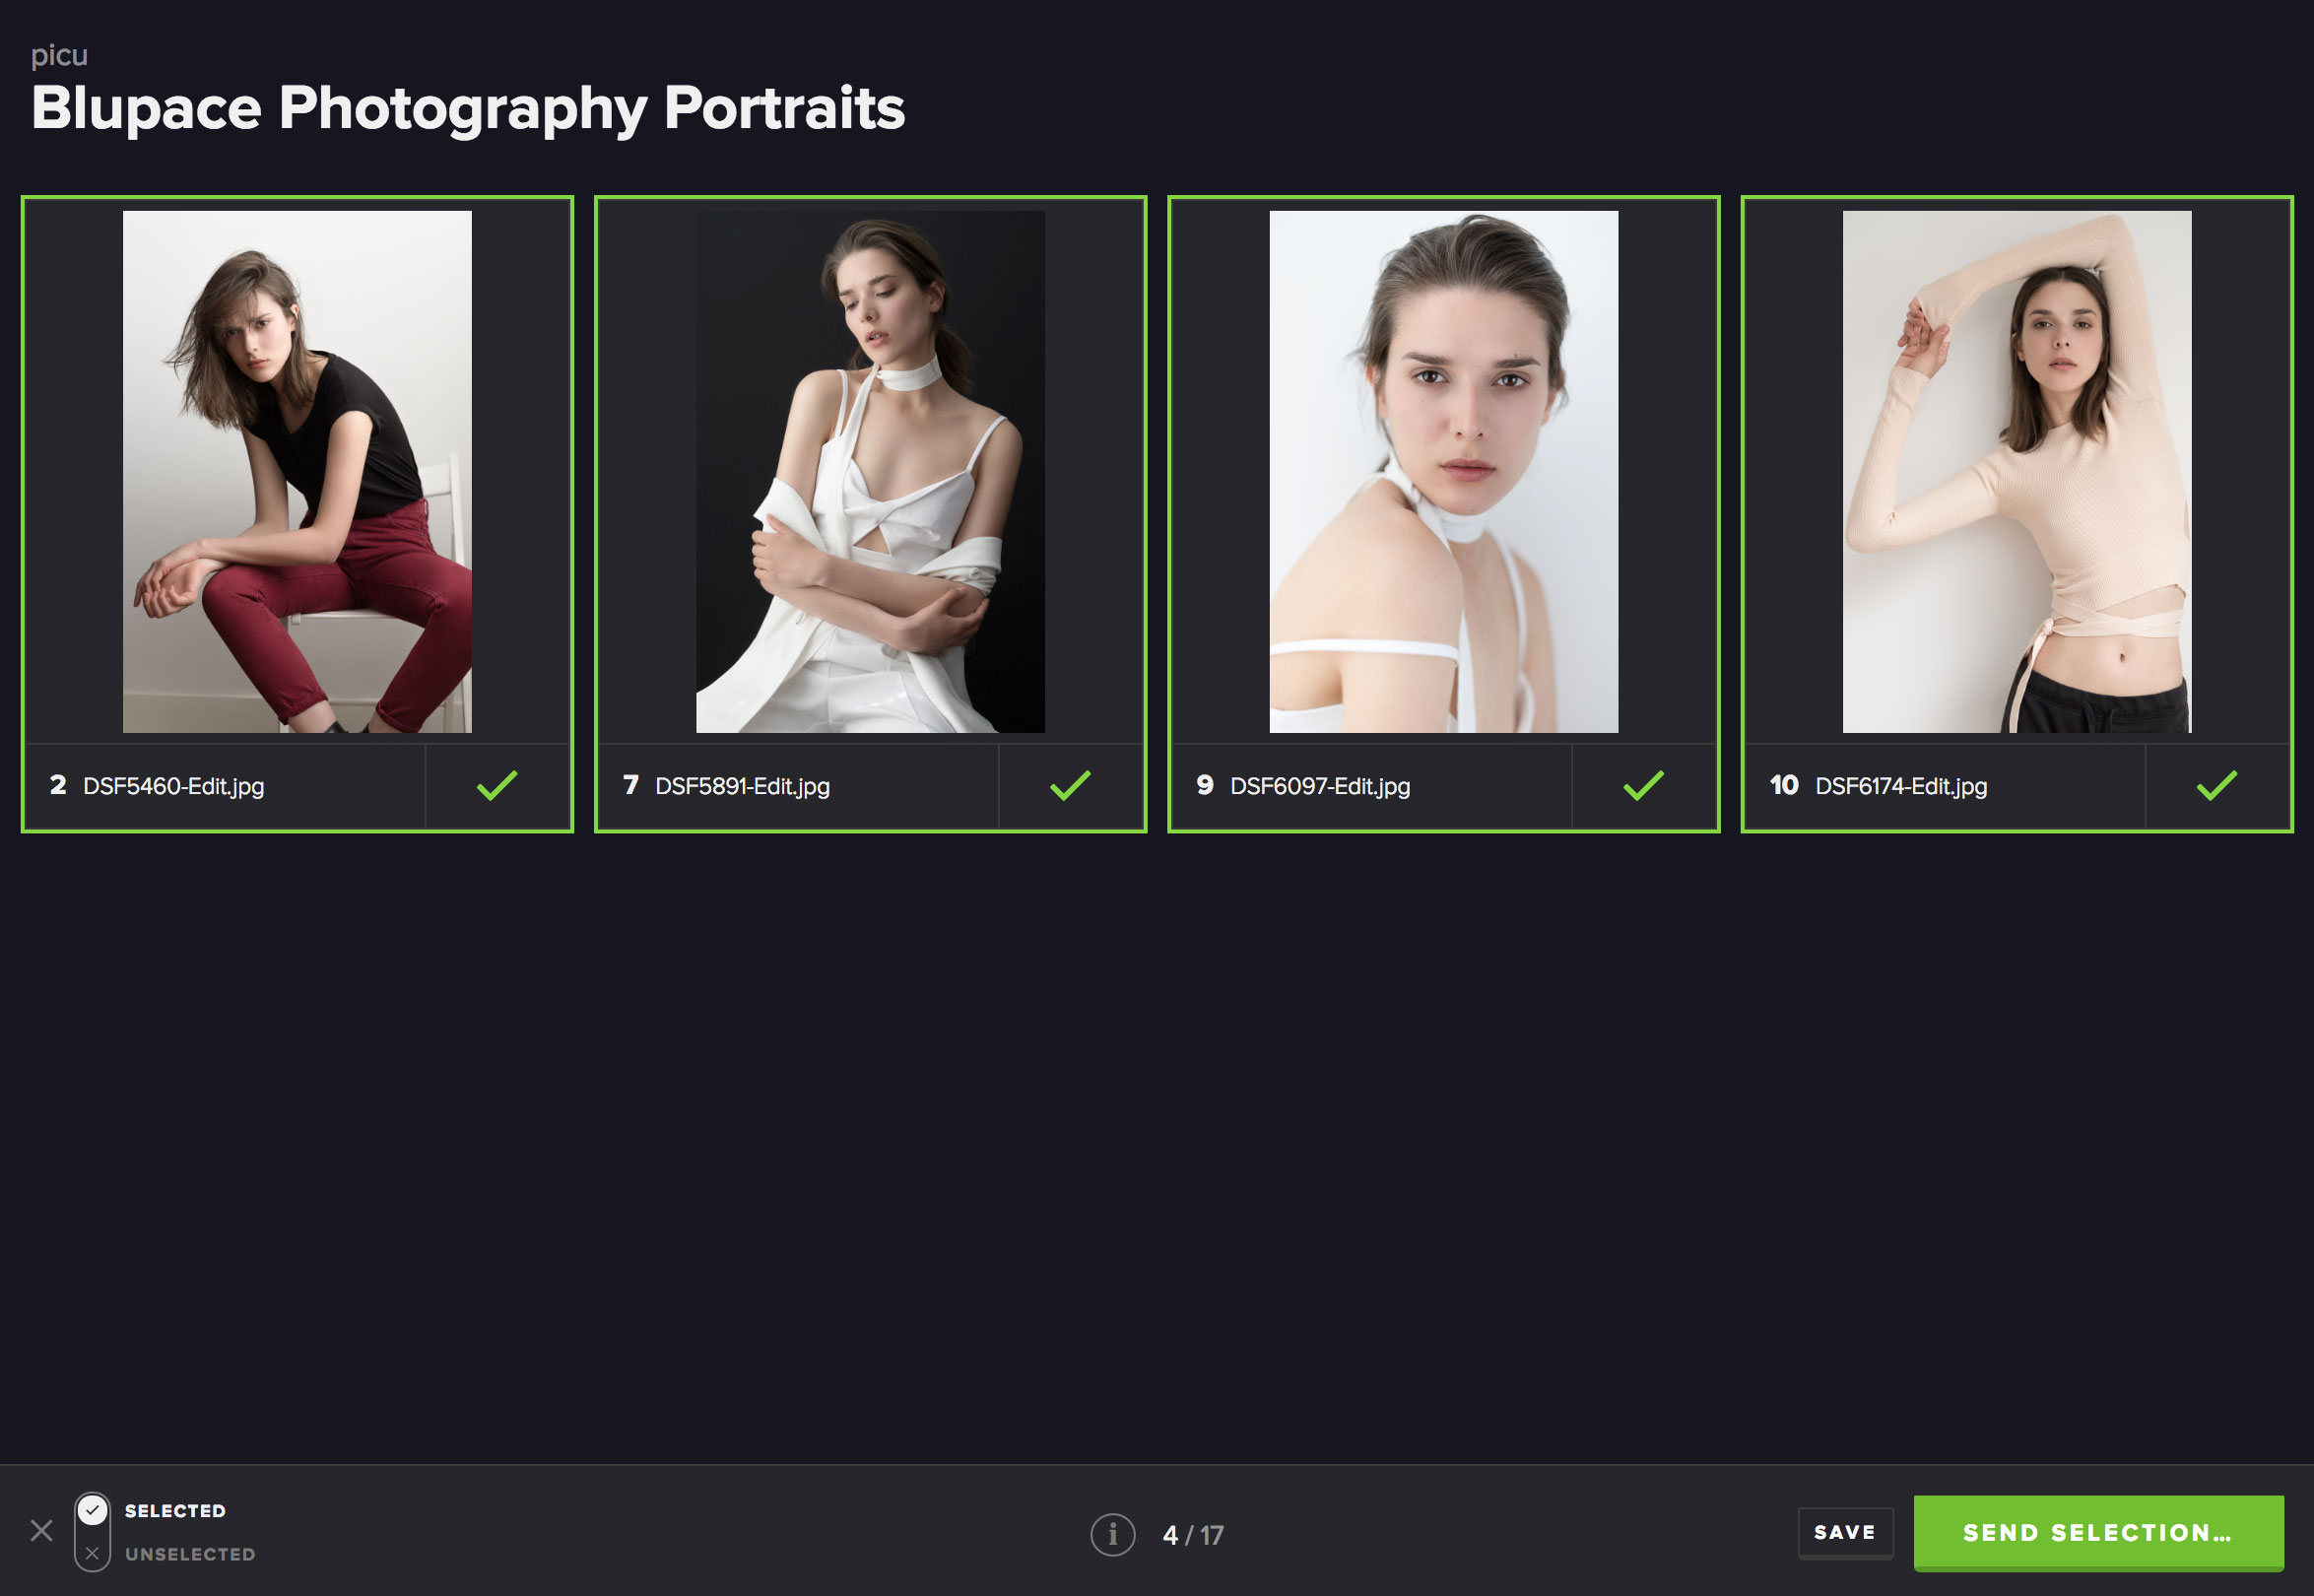
When clicking on the link, the client gets taken to a very simple gallery overview, with controls to select and filter images and then finally approve the collection.
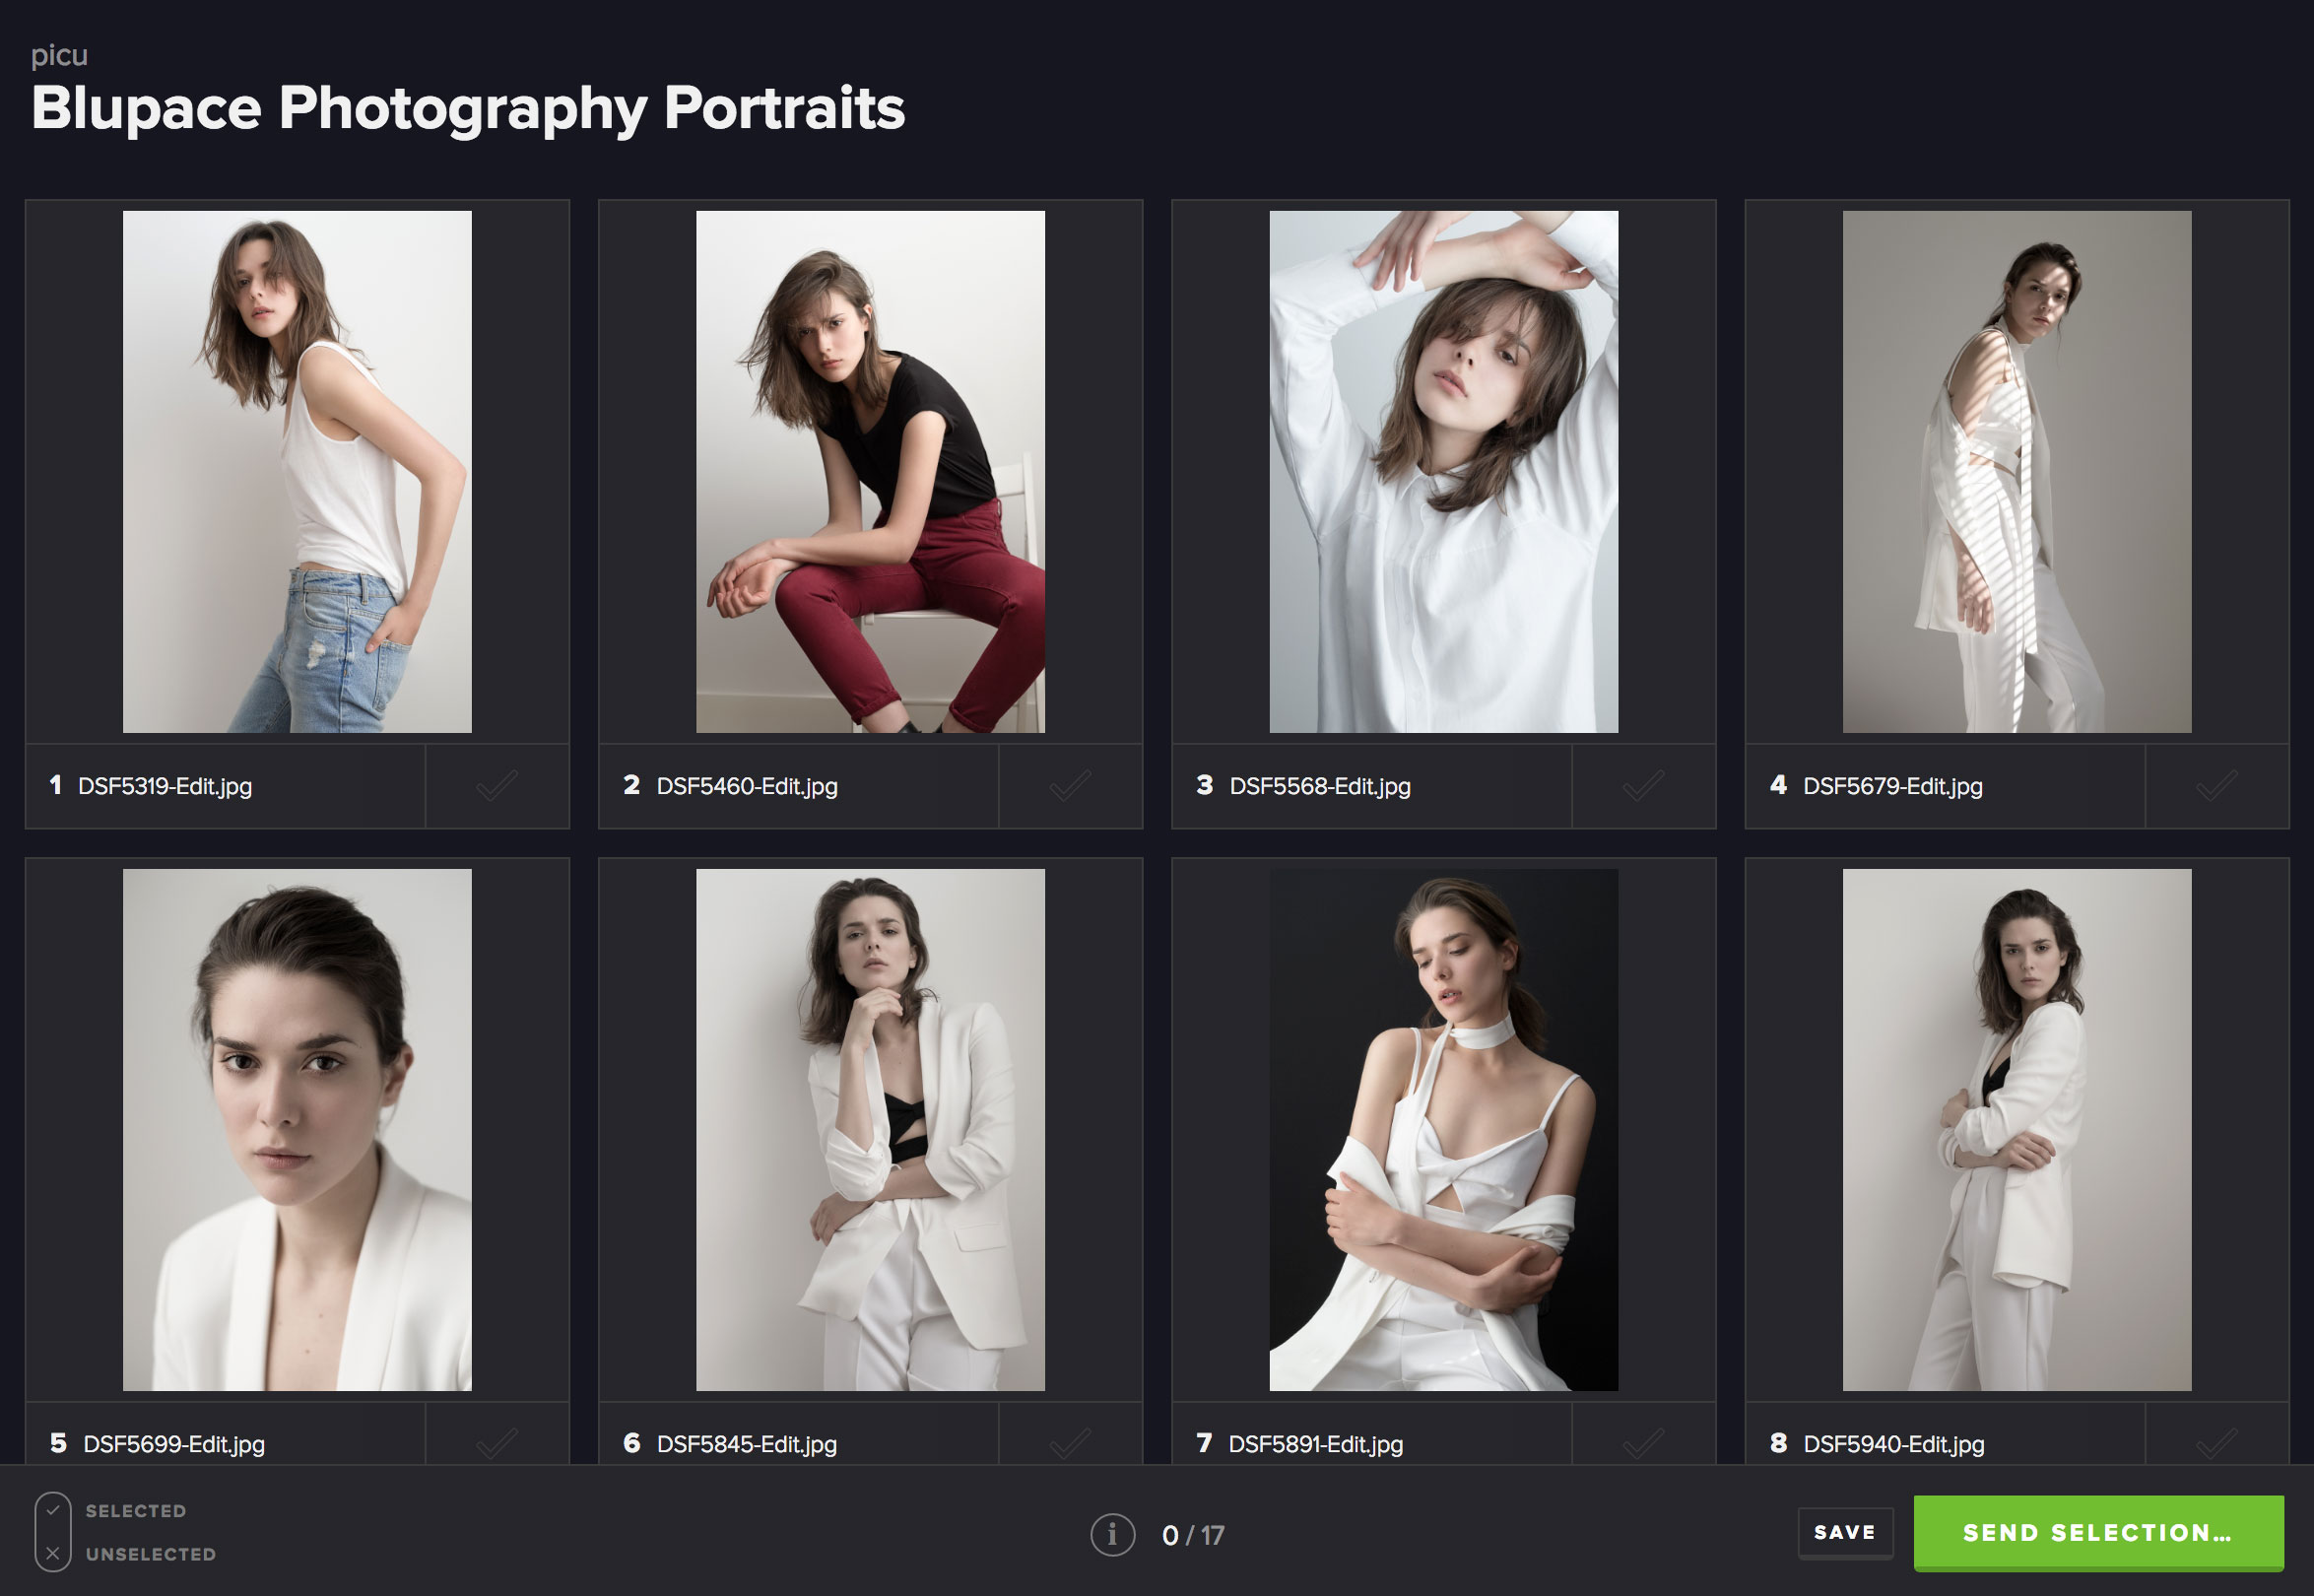
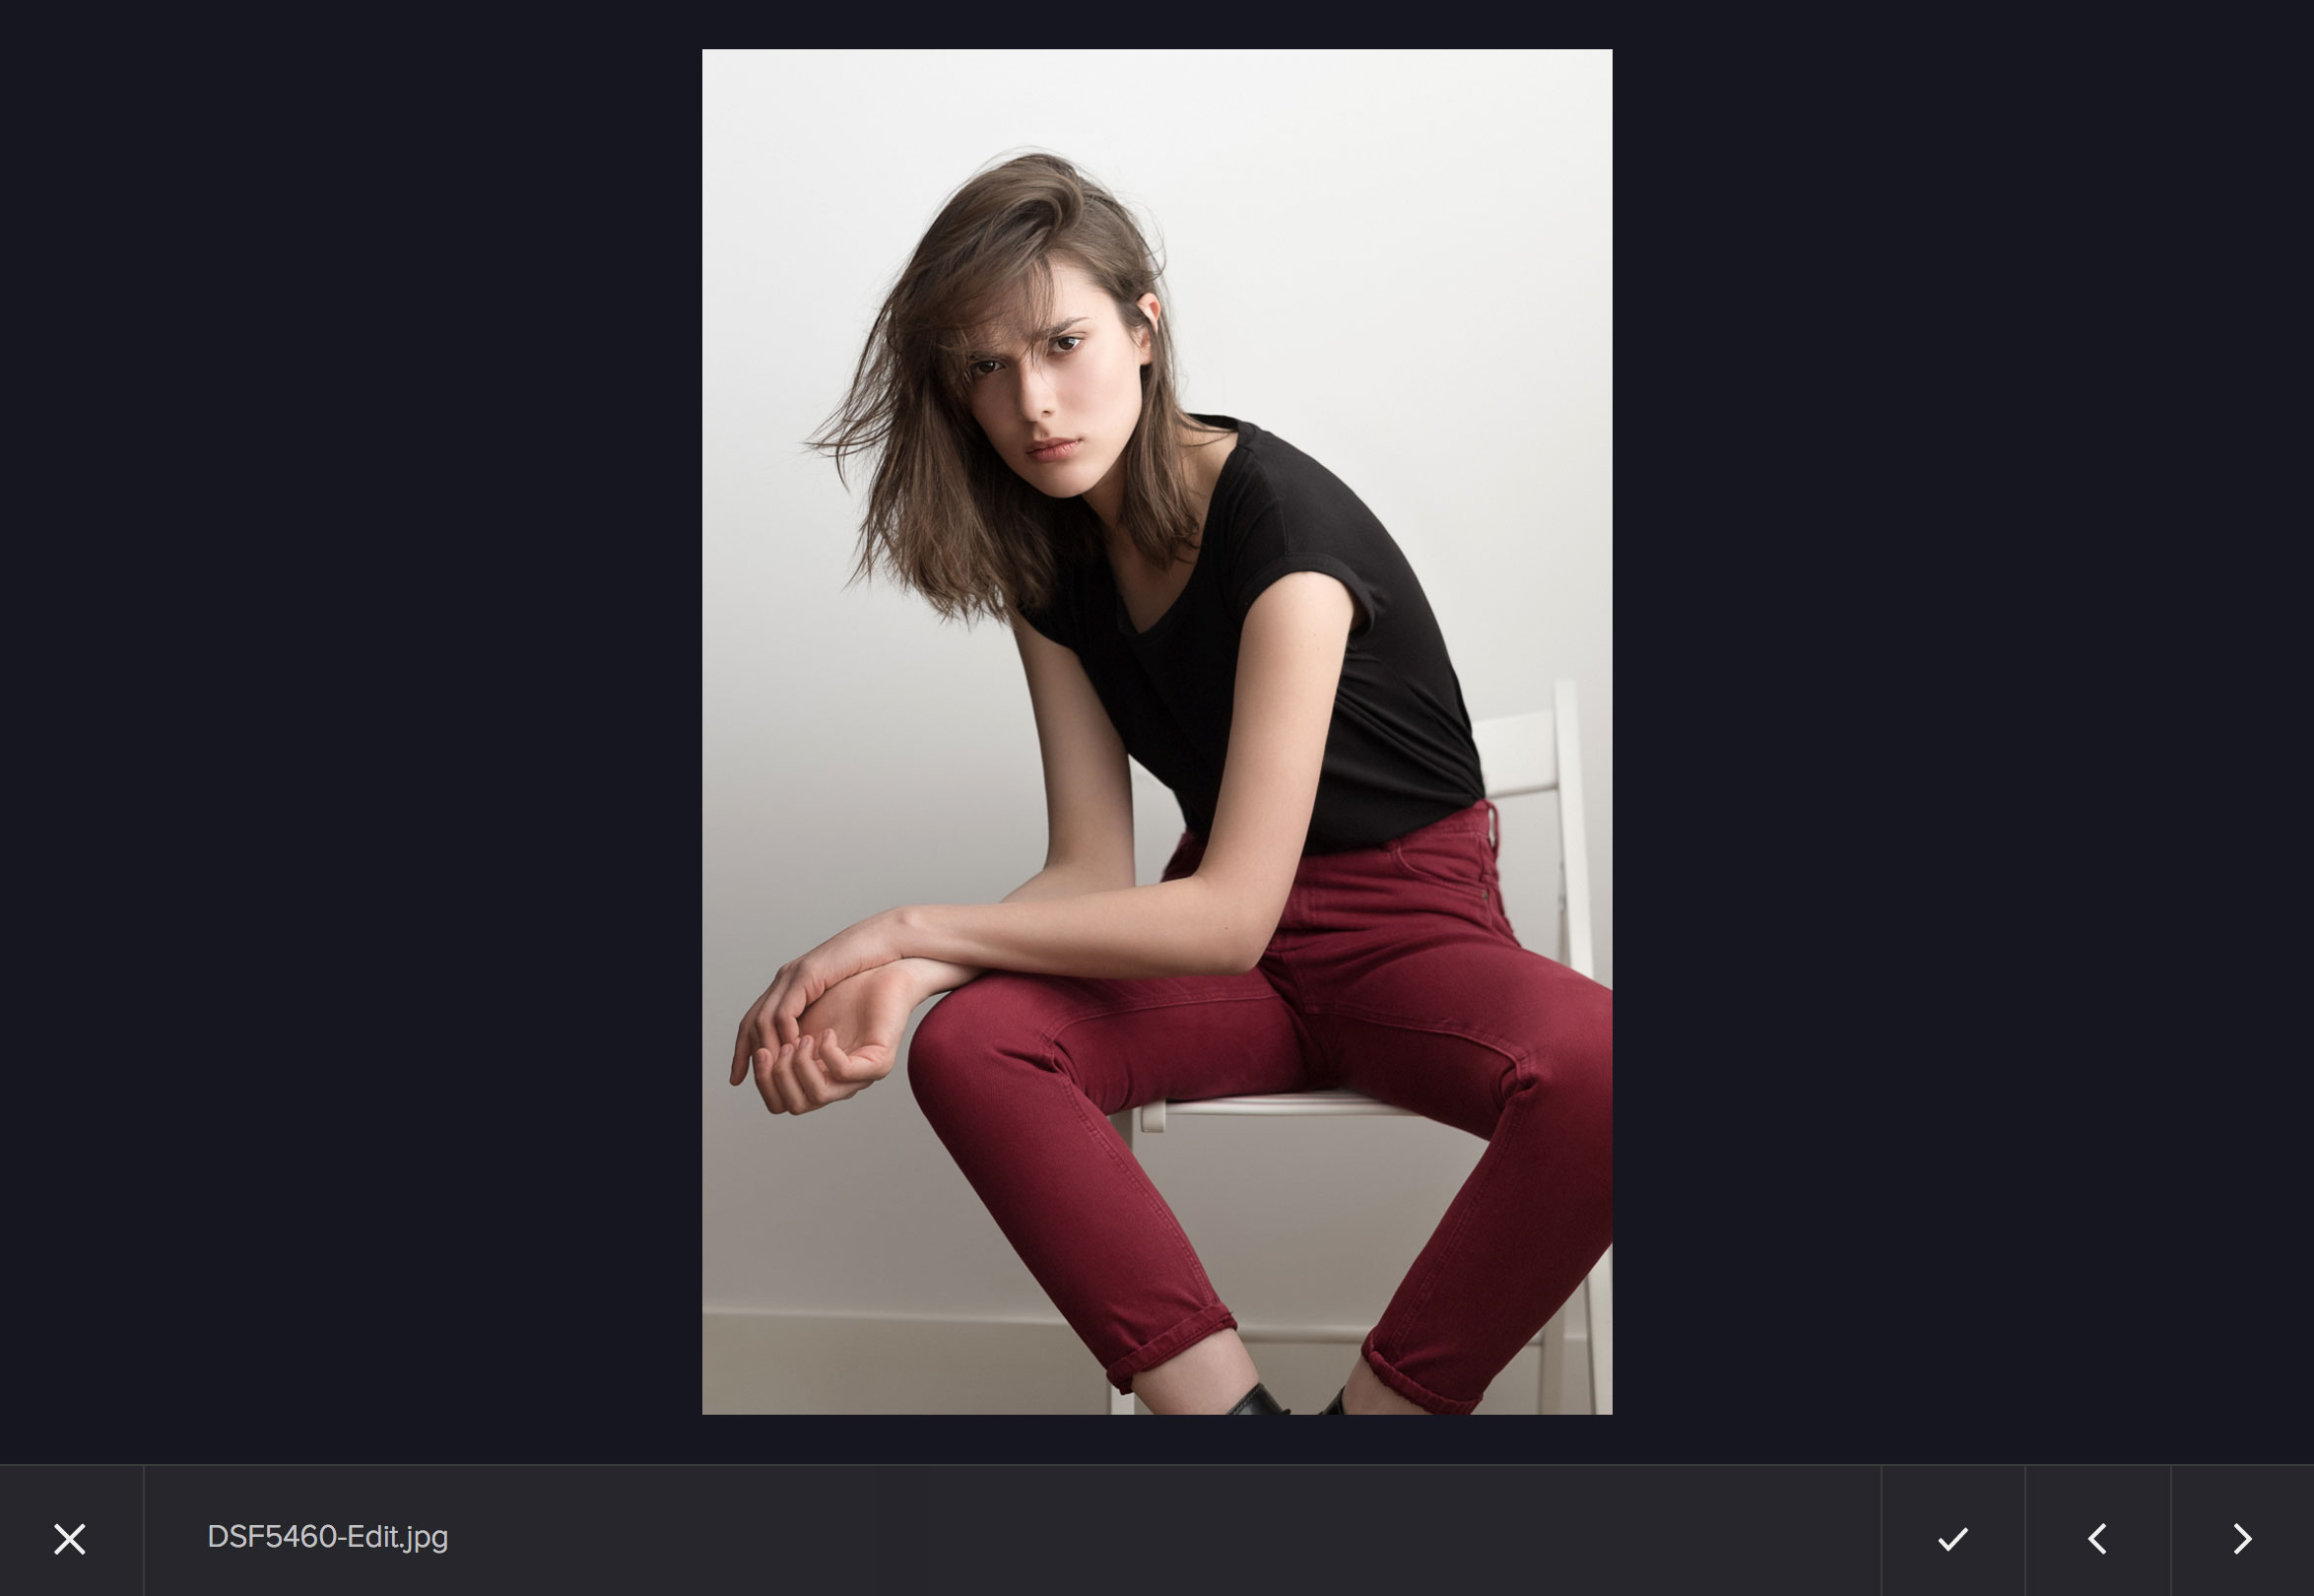

As soon as the client approves the collection, the photographer gets notified via email and can directly copy/paste the list of filenames into Lightroom or his/her image editor of choice to start post processing immediately.

To enhance the functionality, we provide several add-ons that can be purchased in our store. Brand & Customize lets you upload an use your own logo and adjust colors and typography to match your branding. Selection Options lets you define how many images a client needs to select to be able to approve a collection. And with the Import add-on you can upload your files through FTP and then import from from your web server, which is faster – especially if you have huge amounts of images.

Also, we are constantly developing picu as well as the add-ons and are actively looking for your feedback. Please give it a try and let us know what you think. We’d love to hear from you!
Check out picu in action in this short introduction screencast:
Thanks a lot to Blupace Photography for letting us use their images throughout this article.